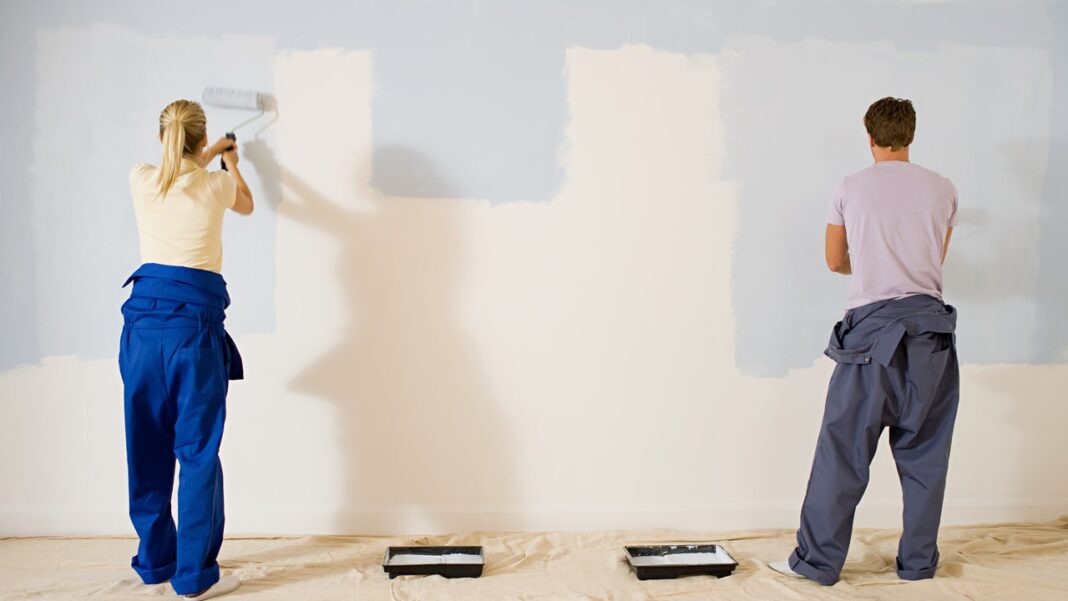
If the idea of saving money through a DIY project seems appealing but not at the risk of finished results, Ebel and Micetich suggest doing the majority of the prep work yourself to minimize the amount of labor you’ll have to pay for. “If you can take down photos or art on the walls or move furniture, it will save the painters work on-site,” Ebel says. Micetich adds that filling holes, sanding, applying painters tape, and laying cloths can be easy tasks that decrease the total cost. “Using this method, you can save money by doing some of the labor yourself without sacrificing the benefits of a professional paint job,” she says.
Tips for efficient DIY house painting
One of the biggest mistakes DIY’ers make when painting their home’s interior is underestimating how much time and material can be wasted without the right knowledge or preparation. Without proper techniques, what should be a weekend project can stretch into days of frustration and unnecessary expenses.
Using cheap tools or skipping steps like taping and priming may seem like time-savers in the moment but often result in rework or disappointing finishes that take even more effort to fix. “Skipping primer may require additional coats for full coverage. And storing paint or tools incorrectly between coats can result in dried-out paint or ruined equipment,” said McAuley. Here are the interior painting tips she recommends.
Surface preparation is key: Preparation is the cornerstone of a successful paint job. Skipping surface prep can lead to poor paint adhesion, uneven textures, and visible flaws. Clean all surfaces thoroughly before painting; a quick wipe-down with a Swiffer can remove surprising amounts of dust and cobwebs from walls that appear to be clean.
Mind the gaps. “One of my favorite tips is to use paintable caulk to fill gaps between walls and ceilings, walls and trim, or joints in the trim itself,” said McAuley. Apply a small bead, then smooth it out with a gloved finger or a damp cloth for a seamless, professional look. Let it dry completely before painting.
Cover up more than you think: Protecting your home’s interior is also critical. Lay down clean drop cloths to cover the flooring and furniture, and switch to plastic sheeting if you’ll be sanding. Don’t underestimate how far paint can splatter—cover a little more than you think you need to avoid hours of cleanup later.
Prime, prime, prime. Primer is your friend—especially when working with glossy surfaces, patched drywall, or changing colors. It prepares the surface for paint and promotes adhesion. When in doubt, use it. And choose the right type: bonding primers for cabinets and trim, stain-blocking for dark or bold colors, and mold-resistant options for bathrooms, according to McAuley.
When in doubt, plan it out. For ultimate efficiency and quality, plan your painting sequence like this: start with priming if needed, then trim (baseboards, doors, crown moulding, etc.), ceiling, and walls last. “For dark wall colors, I often wait to paint the base trim until last to avoid splatter,” said McAuley.
Cut in like a pro. When cutting in, use a good 2” or 2.5” angled sash brush and don’t overload it. Start about a half inch away from the edge or corner, then gently work the very end of the bristles up to the edge to form a nice, clean line. If you’re painting the ceiling white, McAuley recommends extending the white down onto the wall. That way, when you cut in with the wall color, you get a crisper line.

