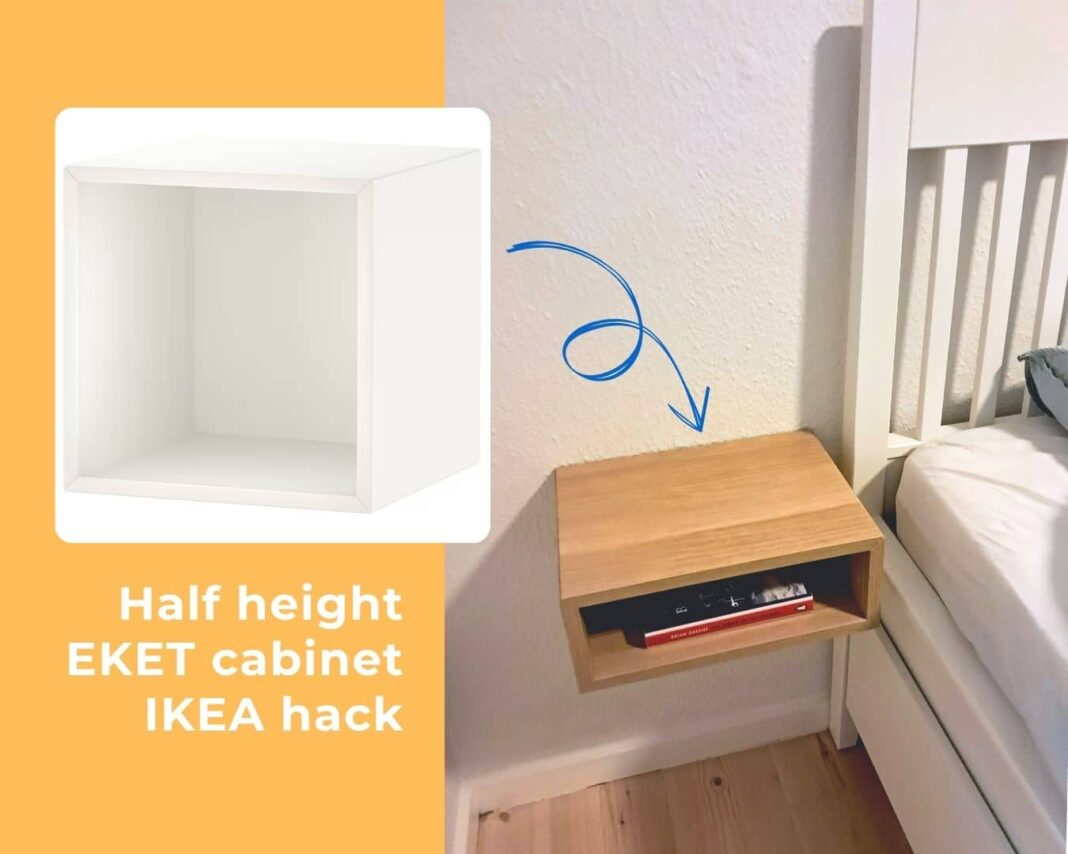
Oak bed shelves. Beautiful, warm, minimal. But also? Surprisingly expensive—and perpetually out of stock.
That’s what happened here. So instead of dishing out the moolah, Ole made one using an IKEA EKET cabinet.
The result? A sleek, wall-mounted bedside shelf that looks high-end, fits perfectly in small spaces, and costs a fraction of designer alternatives. This hack doesn’t just save money, it’s great for holding your book, phone, or a small light.
Let’s show you how to make it
What You’ll Need:
- IKEA EKET Cabinet (13 ¾ x 13 ¾ x 13 ¾ inches) x 1 for one nightstand
- Saw (preferably with a fine-tooth blade for laminate)
- Wood piece (used as interior support)
- Wood glue
- Basic hand tools
- Measuring tape
- Pencil
- Fixings for your wall type (plaster, drywall, brick, etc.)
How to Hack the EKET Cabinet Into a Floating Bedside Shelf
This hack transforms the square EKET into a rectangular open-front box, resembling a custom oak shelf. Here’s how it comes together:
1. Measure and Mark
Decide how tall you want the final shelf. Use a pencil to mark the new lines on two opposite sides of the EKET cabinet. This determines the new dimensions, essentially reducing the box’s height.
2. Remove the Cardboard Core
Carefully saw the two selected sides down to size. EKET panels are constructed with a laminate veneer over a cardboard honeycomb core, so once cut, you’ll need to dig out that inner material to make room for support.
3. Reinforce with Wood
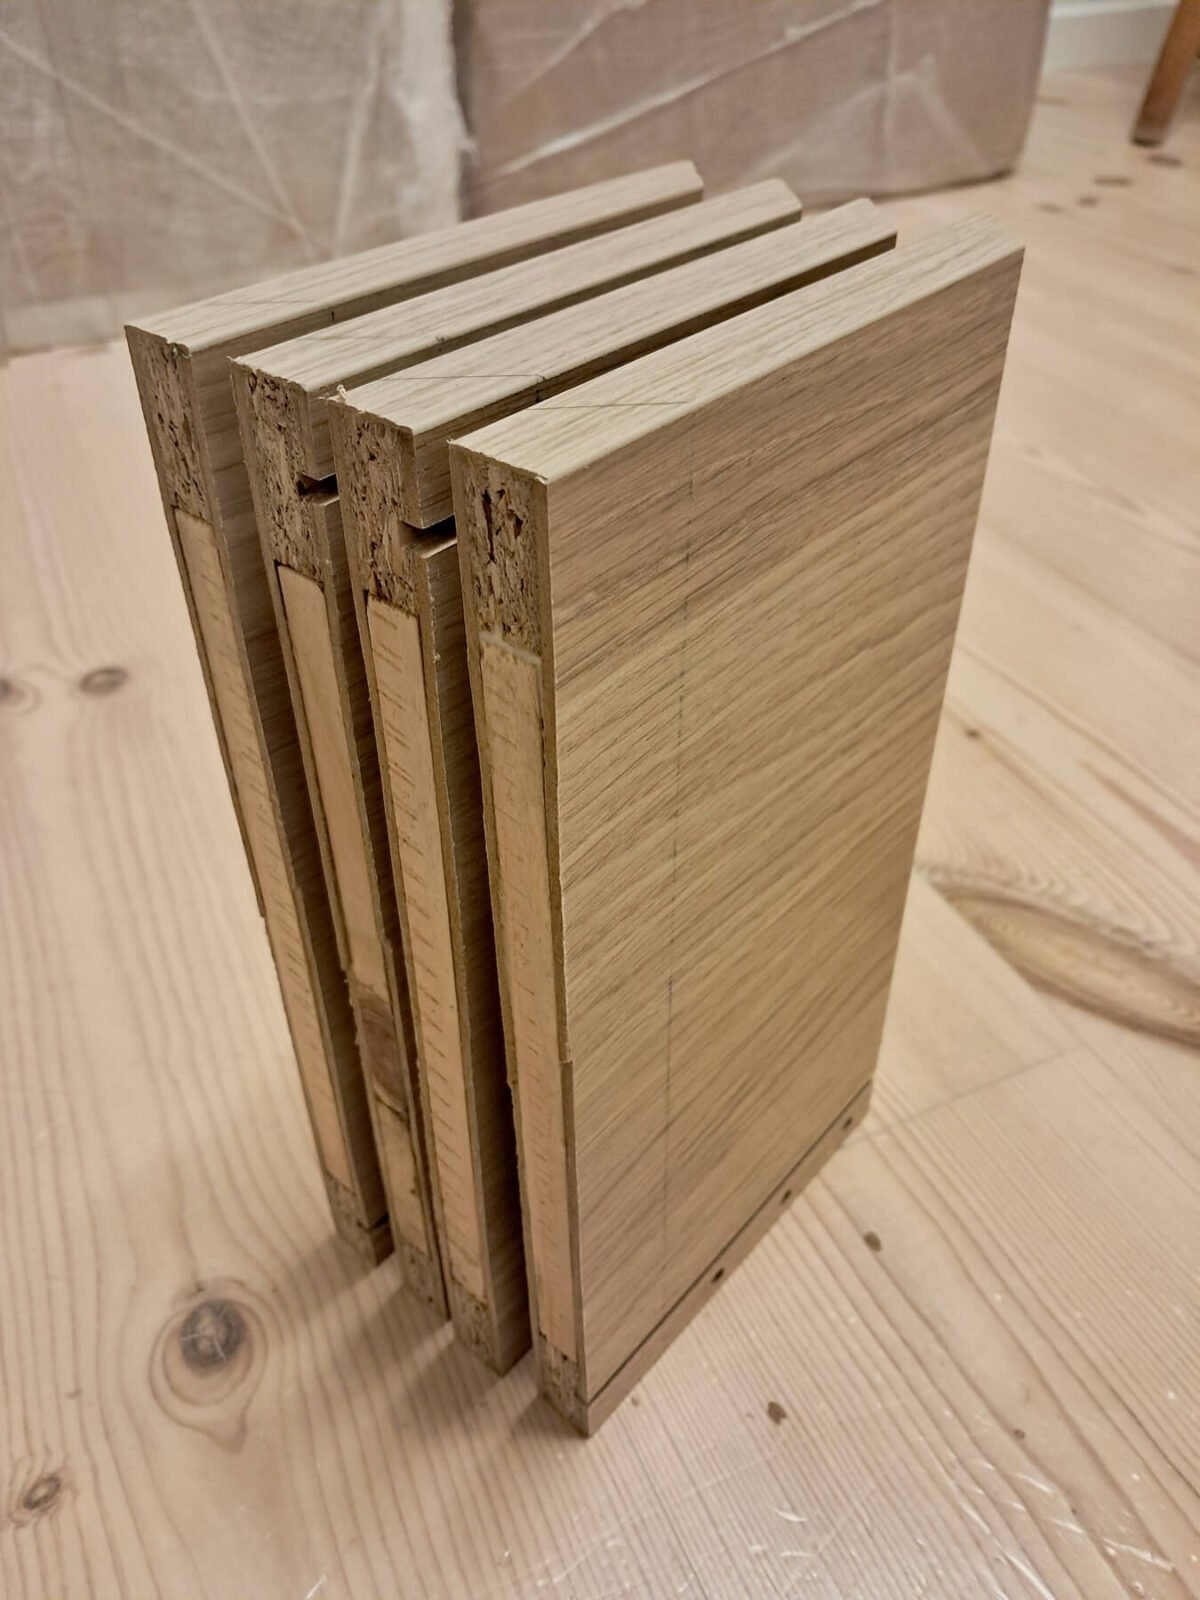
Cut wooden strips to fit snugly inside the hollow areas you just exposed. Around 40mm (approx 1.5 inches) thick should do. Apply wood glue liberally and secure these support strips flush with the interior.
This strengthens the structure and makes it possible to cut the angles in the next step. Let the glue dry completely before moving on to the mitre cut.
4. Angle and Assemble
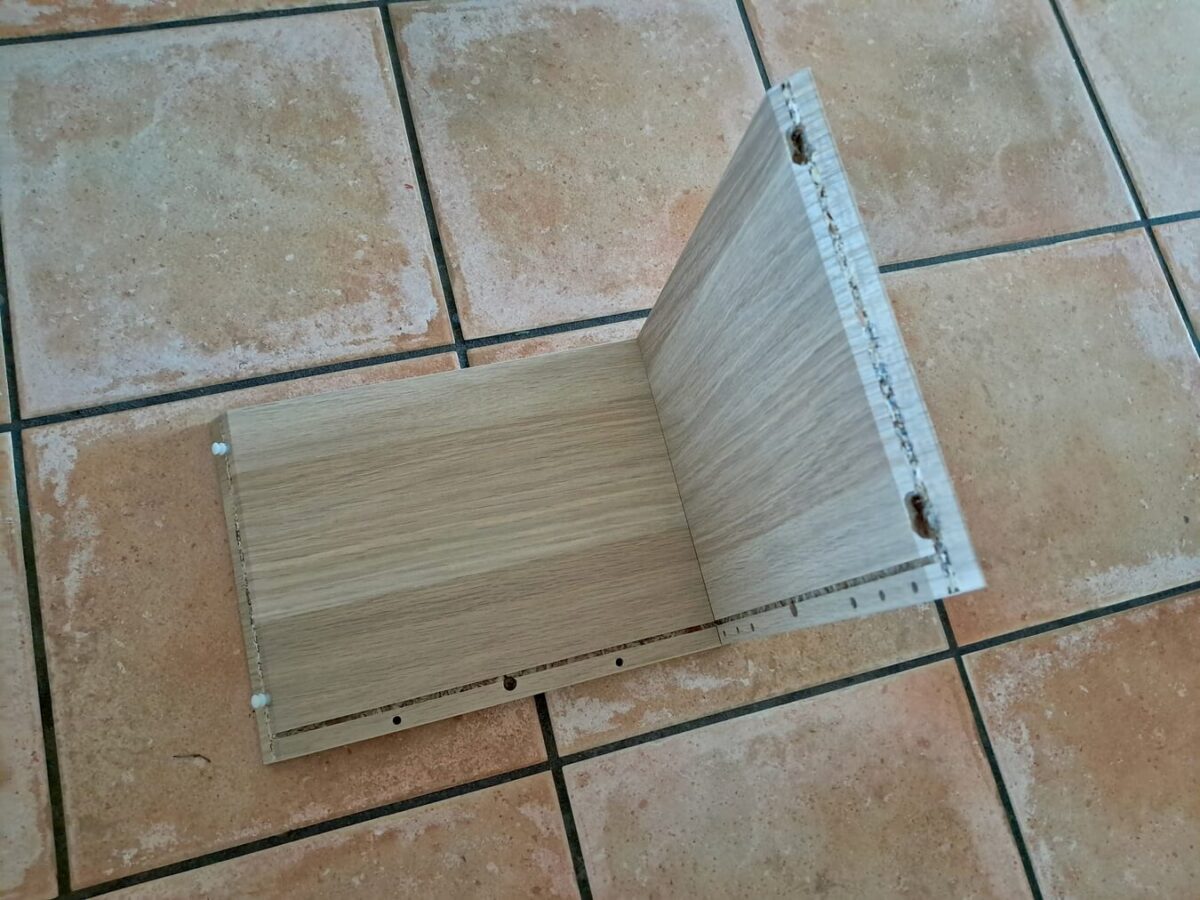
For a seamless look, cut your edges at a 45-degree mitre. Laminate can break easily, so go slow and use painter’s tape over your cutting lines to reduce chipping. Align the angles, apply glue, and assemble the box.
5. Mount It Up
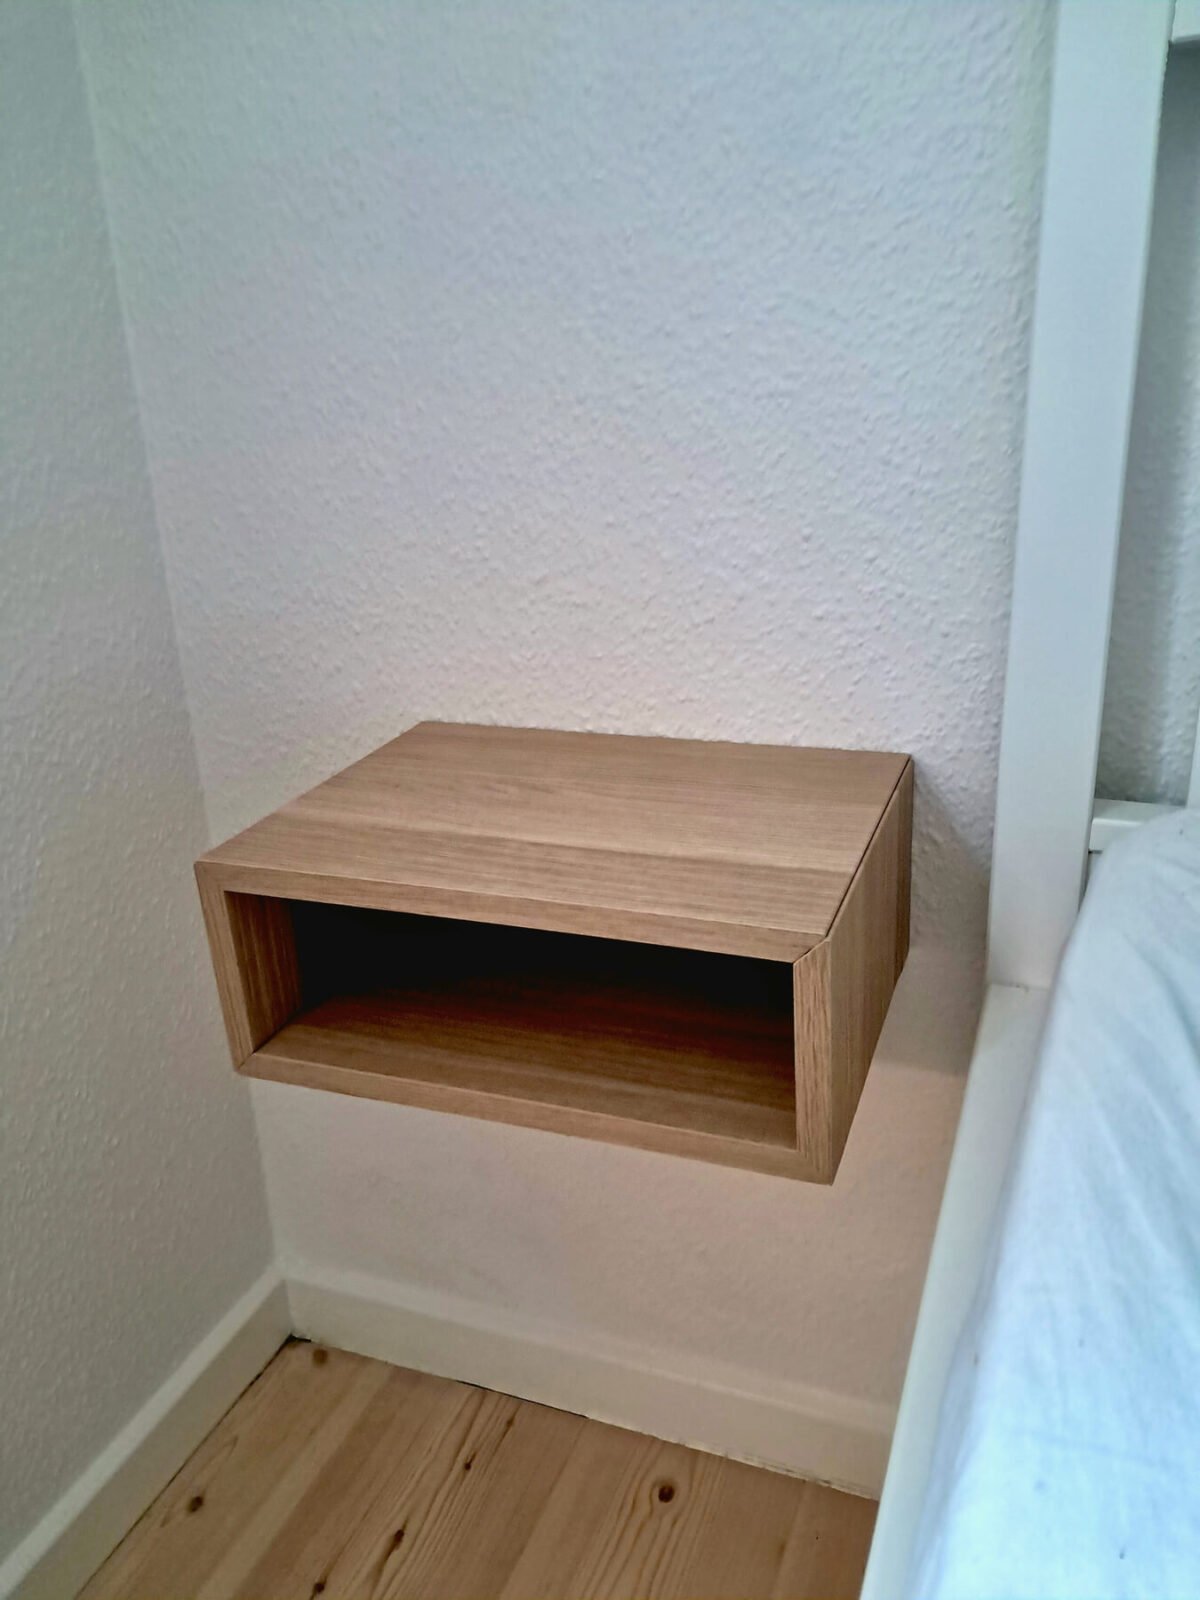
Once dry and secure, your new shelf is ready to mount. Because wall materials vary, choose the right anchors and screws for your specific situation. If in doubt, consult your local hardware store or a handy friend.
How Long and How Much?
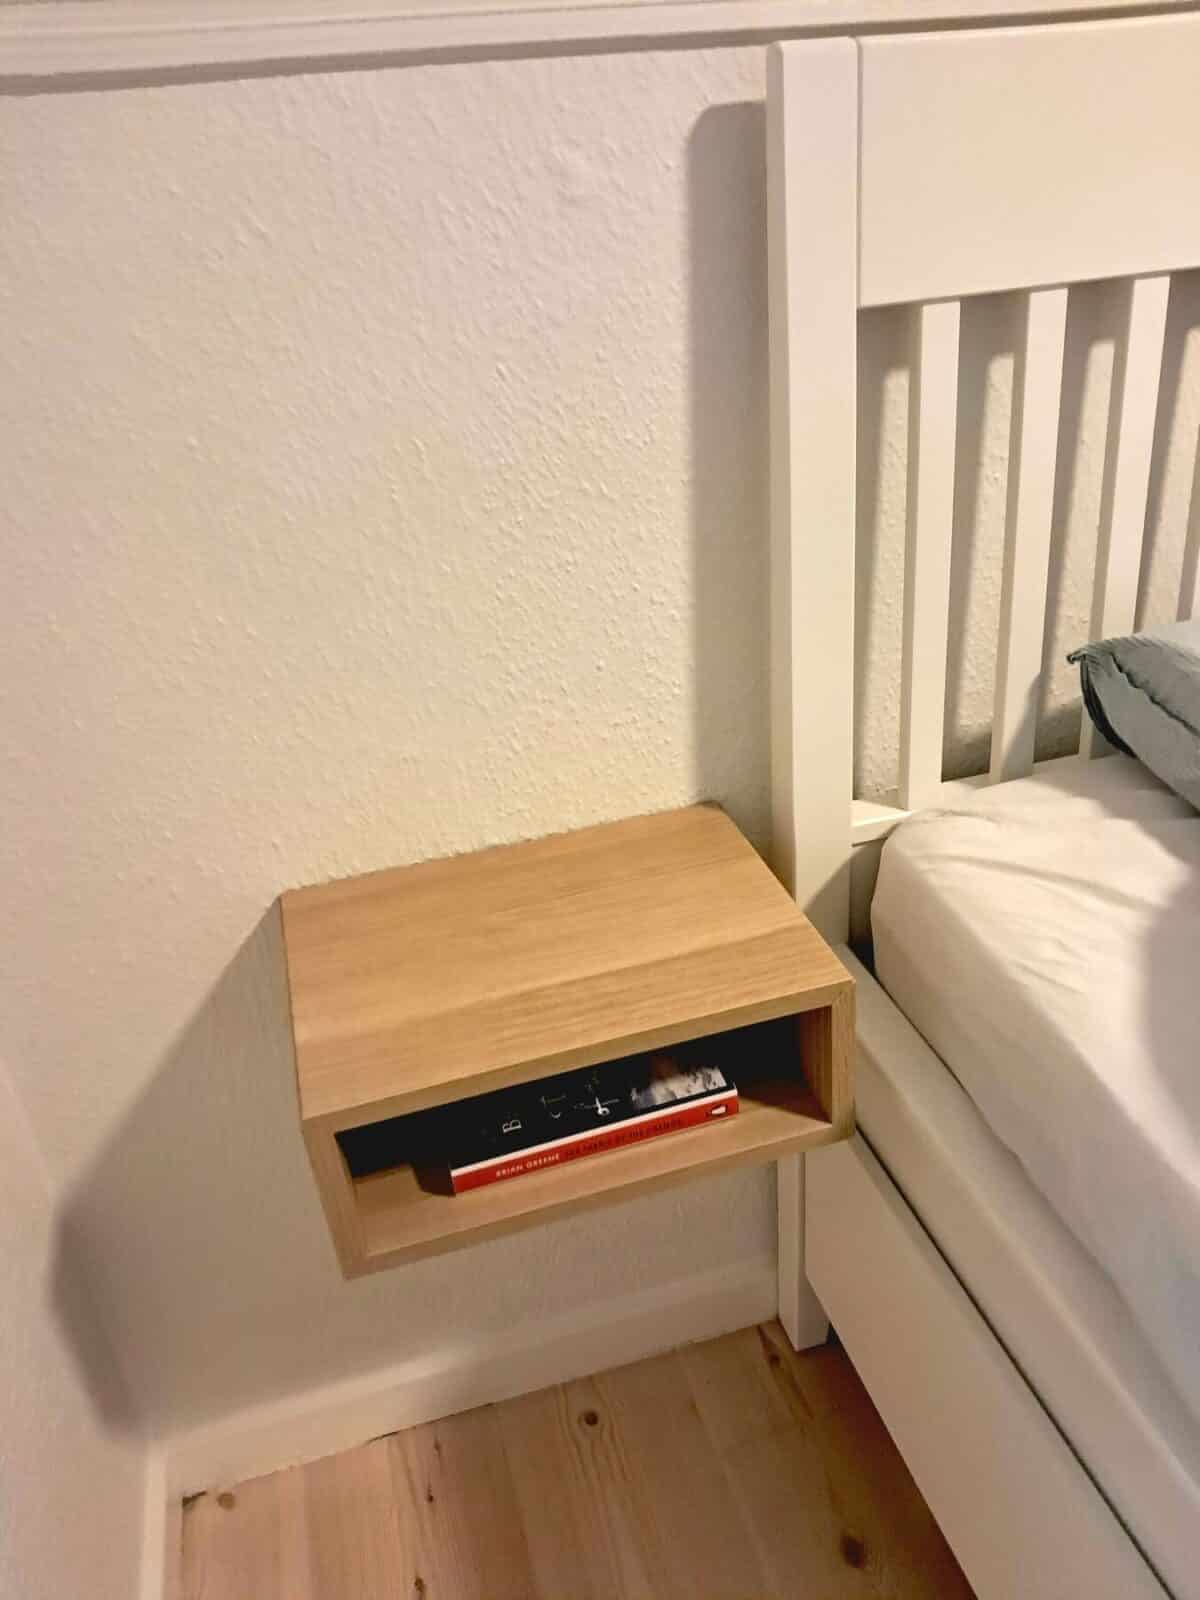
Assuming you’ve got access to basic tools, this floating nightstand project should take about 2 hours, an afternoon at most.
The main expense is the EKET cabinet itself, which is $20 for a unit. You may already have a few bits of wood and glue lying around.
Compared to oak shelves retailing at triple the price, this IKEA hack is a budget win.
Why It Works
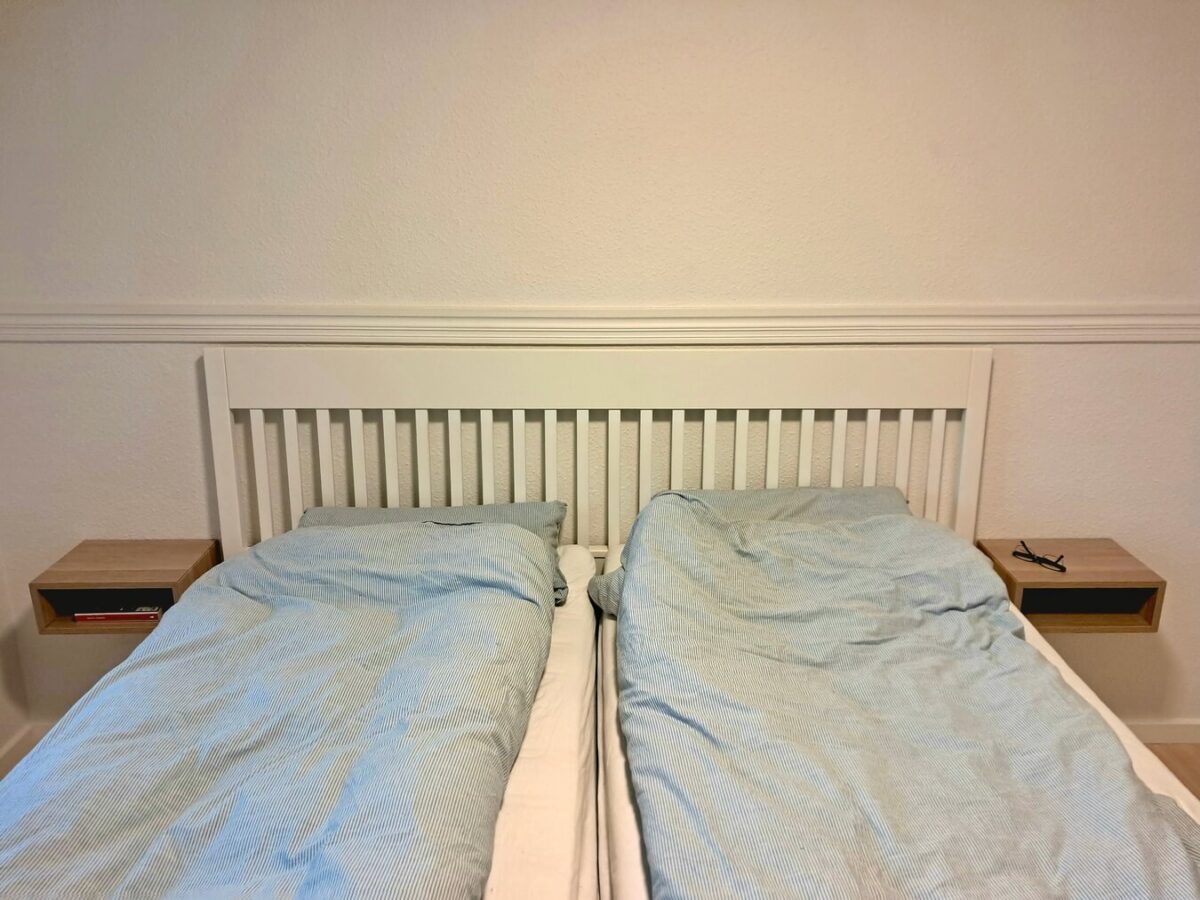
This shelf hits that sweet spot: modern and minimal, yet sturdy and functional. Ole says, “It’s the perfect size and not intrusive.” That pretty much sums it up.
It fits a book or two, your phone, a small lamp, maybe even a plant. No legs, no clutter. Just clean, practical style hanging right where you need it.
And the best part? The size. It’s not too deep, not too wide—just right for the space beside your bed.
Ole’s Word of Caution
The most delicate part of this project is cutting the laminate panels without damaging the surface.
If you’re nervous about your sawing skills, practice on scrap or consider using a fine circular saw with a guide rail. Precision is key to getting those tight, 45-degree corners.
All Done!
Now you have a minimalist bedside shelf made from a simple IKEA cabinet. It saves money and looks like something from a fancy store. Well done, Ole!
NEXT: Explore more IKEA nightstand hacks.

