If you’ve ever wished your IKEA furniture could work just a little harder for you, grab your nearest 3D printer or borrow one from a friend.
IKEA fan and maker Adivor has created not one, but three helpful 3D printed IKEA hacks that solve everyday annoyances with a dose of smart design.
We’re talking about:
Hack #1: LACK Table Underside Organizer
Problem solved: The IKEA LACK side table is simple and stylish, but offers no built-in storage. Adivor’s printable hack adds a hidden storage box underneath the tabletop.
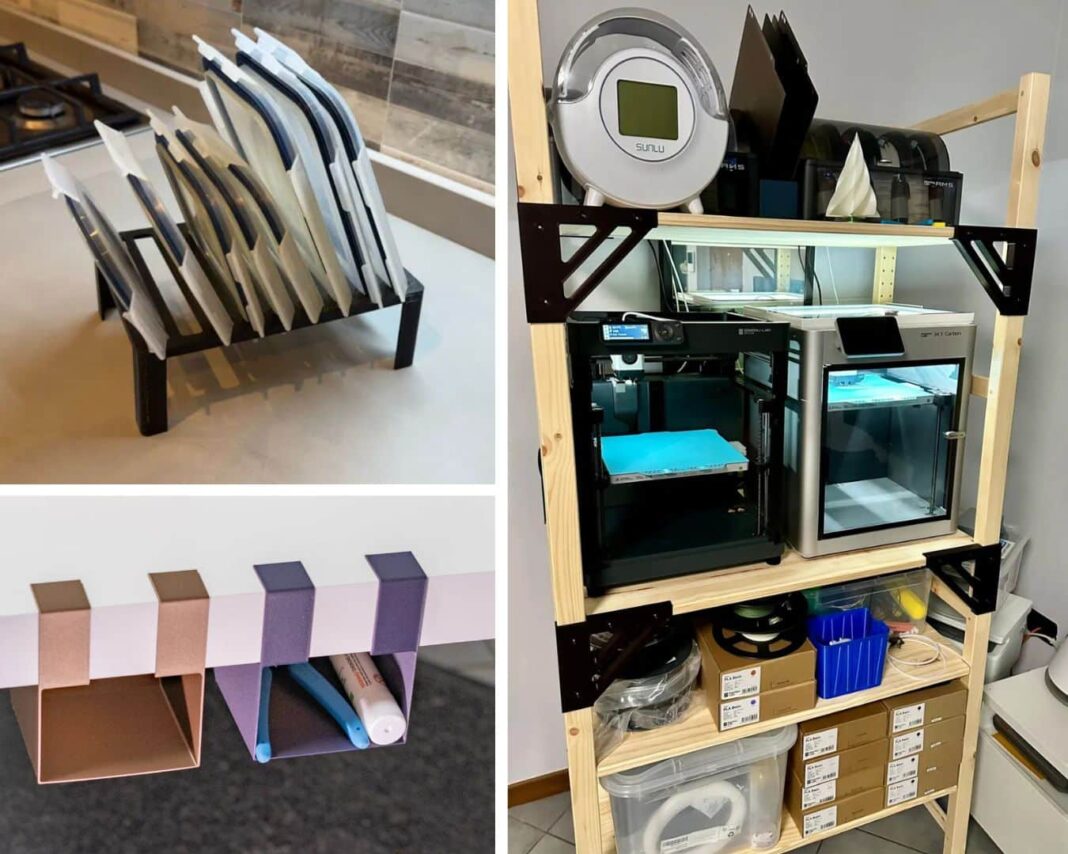
The LACK Organizer is a clip-on box that attaches securely to the tabletop, turning the empty underside into usable storage. No screws or glue required, just snap it in place. It’s perfect for remote controls, pens, cables, or snacks you want nearby but out of sight.
This adds function without altering the look of your table. Great for small apartments, dorms, or minimalist homes.
Files are available here: LACK Organizer on MakerWorld
Hack #2: Corner Brackets for Wobbly IVAR Shelves

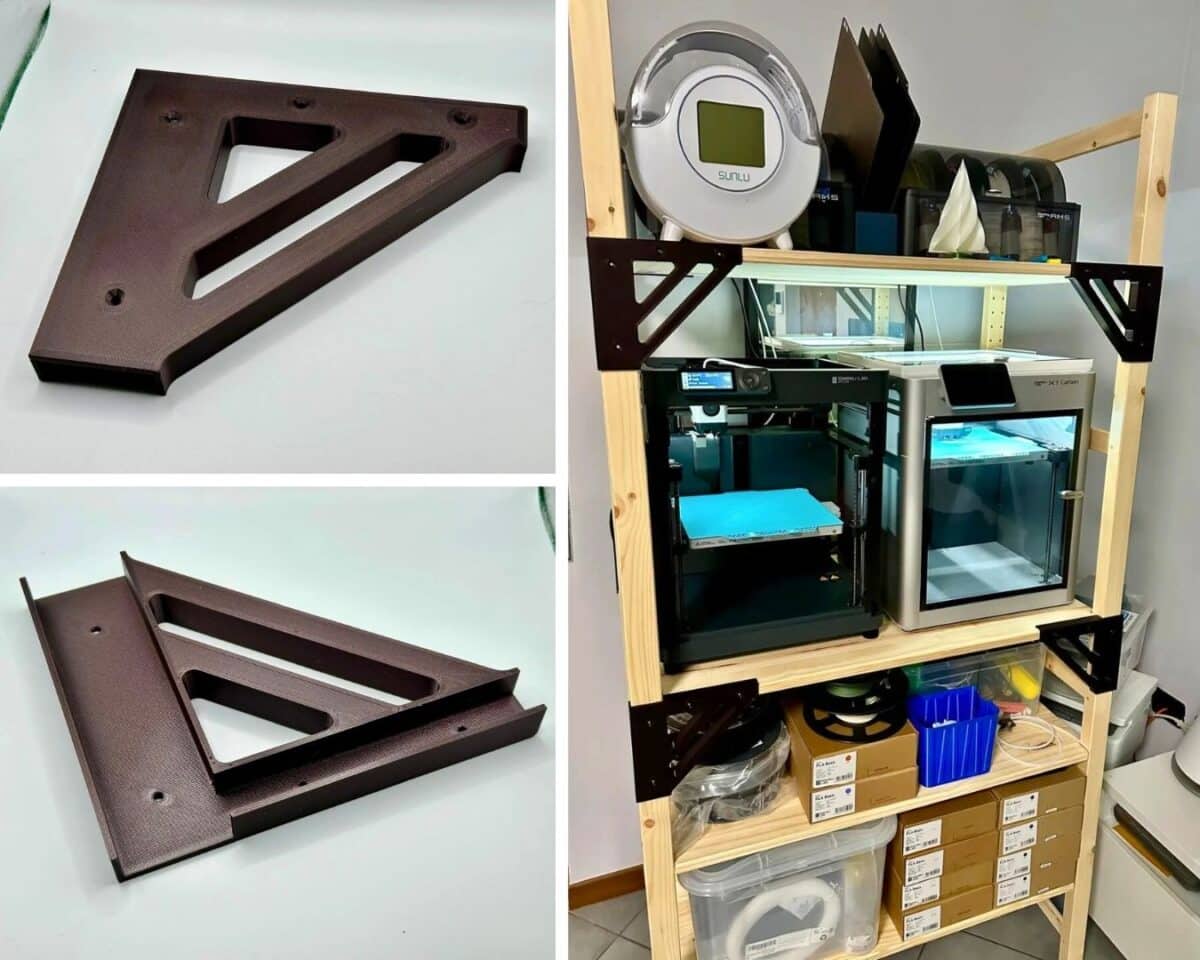
Problem solved: The IVAR shelving unit is beloved for its modular design, but it can wobble under load. Adivor’s 3D printed corner brackets offer a clean, strong fix. They reinforce the frame at the corners, giving the IVAR shelving unit some backbone.
But wait, can I just use regular corner brackets?
Here’s the difference: Adivor designed grooves and slots into the brackets that perfectly cradle the IVAR side units and shelves. That means everything sits square, fits snug, and stays exactly where it should.
These custom-designed brackets can be secured with small screws, if you need further reinforcement. Ideal for use in workshops, pantries, or anywhere heavy items need secure storage.
Files are available here: IVAR Corner Brackets on MakerWorld
Hack #3: IKEA 365+ Lids Organizer

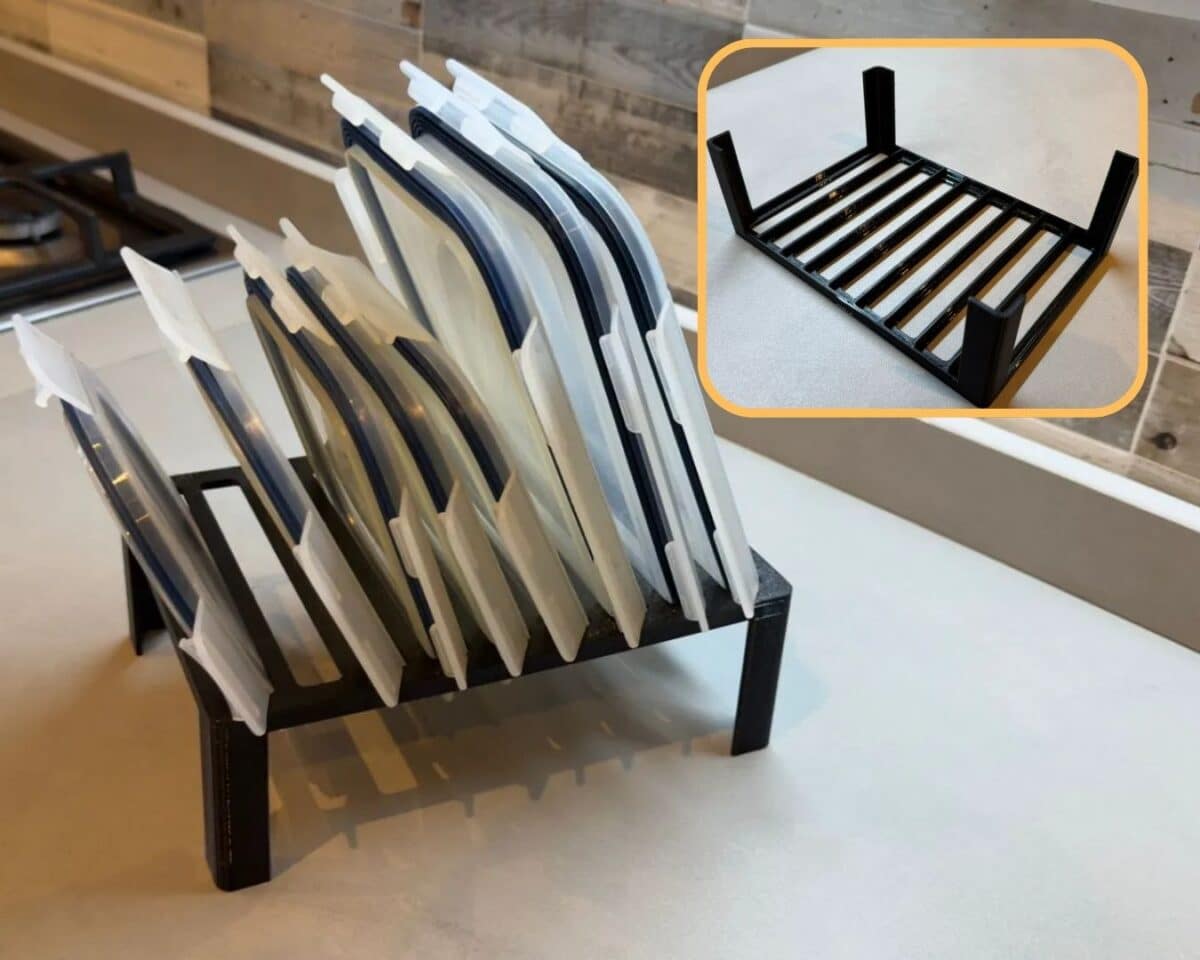
Problem solved: The IKEA 365+ food container lids are great, until they start piling up in your cabinet. Adivor’s third hack neatly corrals them with a lid organizer insert. Line the lids and place the organizer in your kitchen drawers or shelf. No more fumbling through messy drawers or digging for the right size.
The design is smart, clean, and a helpful upgrade for anyone using IKEA’s popular food container system.
Files are available here: 365+ Lids Organizer on MakerWorld
See all of Adivor’s 3D print designs here.
What If I Don’t Have a 3D Printer?
So, you love these 3D printed IKEA hacks but don’t own a 3D printer? Don’t worry—you’ve got options (and no, buying a $300 machine just for a lid organizer isn’t your only choice).
Option 1: Use a Local Makerspace
Many cities have makerspaces or fab labs where you can use a 3D printer for free or a small fee.
Option 2: Print-on-Demand Services
Websites like Treatstock, Craftcloud, or Protolabs let you upload an STL file and get the part printed and shipped to you. Just search for “3D print on demand” and choose a provider near you.
Option 3: Ask Around
You might be surprised who has a 3D printer gathering dust. Try asking in local Facebook groups, Reddit threads, or even your neighborhood WhatsApp chat. You may be able to score a used one or get them to help print it for you.
Option 4: Etsy or MakerWorld Creators
Some designers who post their hacks online also sell printed versions on Etsy or link to print shops through MakerWorld. It doesn’t hurt to message the creator—they might be happy to help you out.
We’d Love to Hear From You
So, what’s your pick? The slide-in storage under LACK? The corner brackets for IVAR? Or that lid organizer?
Tell us which one you’re itching to print—or better yet, show us your hack in action! Drop a comment or tag us on Instagram @IKEAhackersofficial.
If you know someone who’s into 3D printing and IKEA, share this article; they’ll thank you later.

