The IKEA LACK side table is a true legend, known for its affordability, simple design, and countless hacks.
Some would say it’s a little too simple, but I say that’s part of the appeal. It’s like getting a blank canvas where you get to create any masterpiece you want.
Joining multiple LACKS together isn’t anything new, but @n_g_r_a_y did so in a vibrant, stylish way.
They deliver a quick and easy hack that turns two IKEA LACK side tables into a stylish custom coffee table for under $60 (even less if you’re the type to have leftover supplies from other projects).
This double LACK table hack is quick, beginner-friendly, and completely customizable. Here’s what you need to know to get started.
Quick Steps to Make a Double IKEA LACK Coffee Table
- Assemble LACK legs in the center for stability.
- Prime and paint tables for a custom finish.
- Add and secure a wood tabletop for a polished look.
What You’ll Need
- 2 IKEA LACK tables (13 ¾” x 13 ¾”)
- Strong adhesive (clear, heavy-duty)
- Wood for the tabletop (approx. 17.5” x 31.5”)
- Paint and primer (or paint-and-primer in one)
- Paint brush and smooth sponge roller
- Sandpaper or sanding sponges
- Basics — screw gun, saw, tape measure, pencil
Step-by-Step: How to Recreate This DIY coffee table with IKEA LACK
1. Add the Legs to the LACK Tables
Group the legs in the center instead of putting them on each corner as you normally would. Measure and draw placement squares for the four legs on the bottom of each LACK table.
To determine the positioning, trace the end of one leg in the center of the table’s underside, then position the four legs around this square. Attach the legs using a clear, strong adhesive and allow to dry for 24 hours. The hacker suggested placing books or something heavy on top of the legs to help keep them secure.
2. Prime and Paint the Tables
Apply the primer of your choice using a brush in the corners, then complete with a smooth roller for a nice, clean finish. Allow the primer to dry for roughly three to four hours in between coats.
After the primer is completely dry, repeat the process with the paint, allowing it to dry for three to four hours between coats. Apply as many coats as you find necessary to achieve the richness you want.
Darker and vivid colors typically require more coats, and you might need to stretch this step out over a couple of days. To save time on this step, you could opt for a paint-and-primer in one.
3. Prepare and Attach the Tabletop
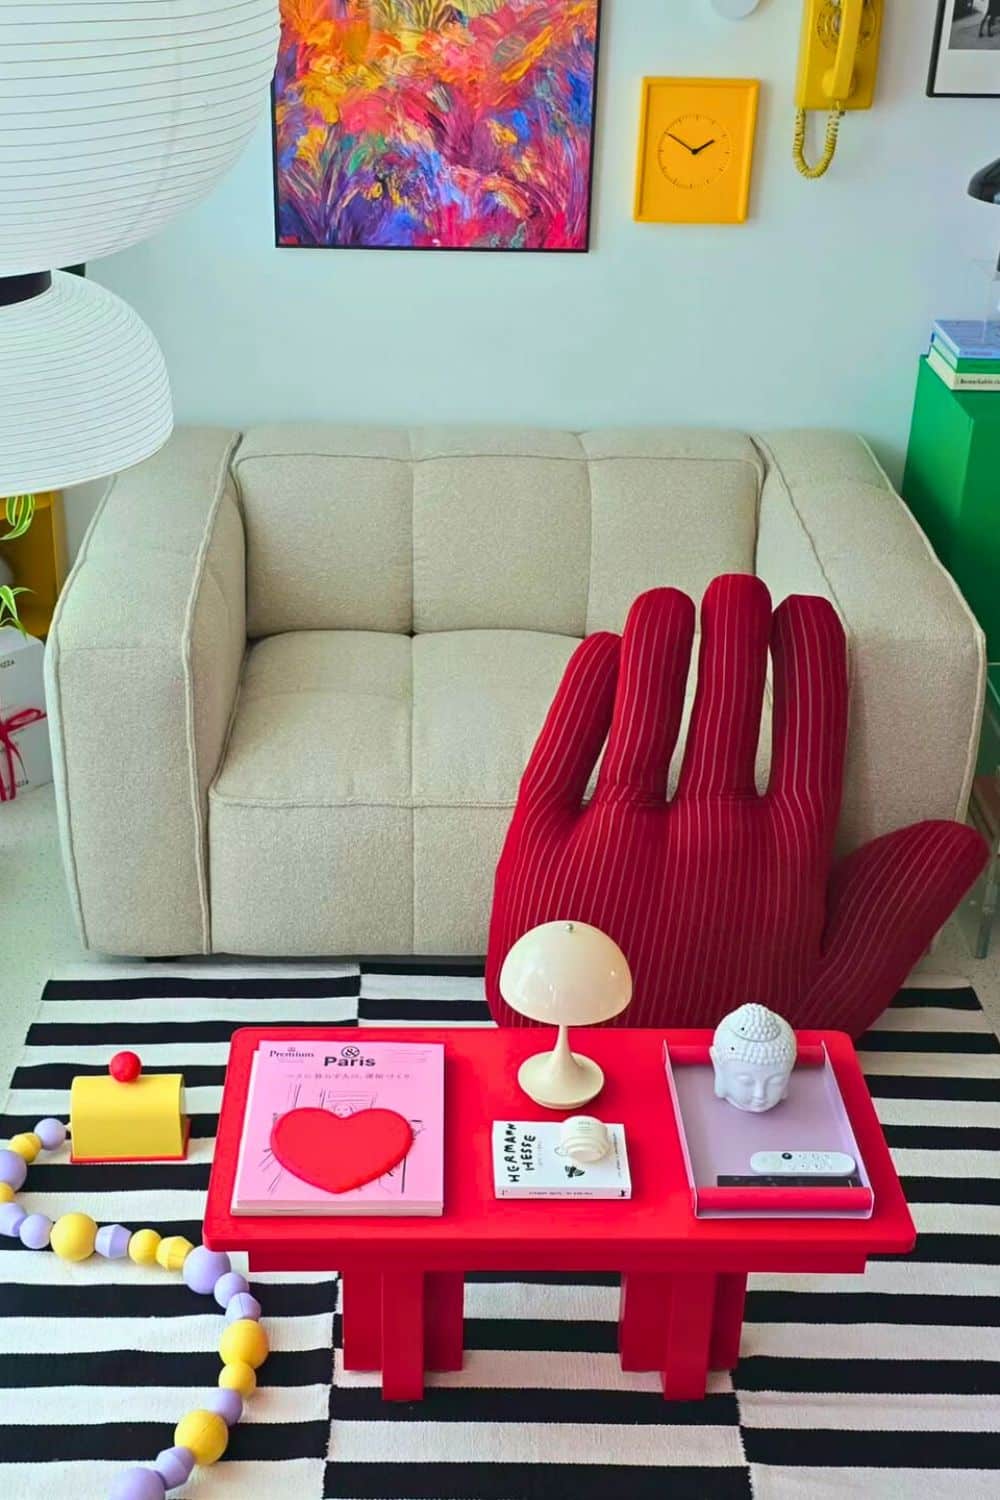
The hacker found a laminated wood tabletop and paid extra to get rounded corners. You could buy something already made, or if you’re handy, you could purchase a piece of wood and make your own. The top is approximately 17.5” x 31.5” in size.
Sand the tabletop well to get a smooth surface and wipe clean before painting. Prime and paint the tabletop, allowing it to dry before flipping and painting the other side. Follow the same dry times as you did with the bases.
Set the finished piece on top of the two LACK tables to create your larger coffee table. The hacker mentioned planning to glue the tabletop in place at a later date.
Pro Tips!
If you decide to try this hack, here are a couple of pointers and options to keep in mind.
- Stability — The creator opted for the smaller LACK side table since she relocated the legs to the center. She said she thought about using the larger one, but it was too wobbly. Therefore, if you decide to go with the bigger side tables, keep this in mind, since you may need to rethink your leg placement.
- Flexibility — The addition of the wood tabletop certainly gives this piece a high-quality finished look, making it one solid piece of furniture. However, if you prefer something with more flexibility, you could use a large tray or something similar on top of the two LACKS. Keep them together when necessary, then remove the tray and separate the LACKS when you need to change up your configuration.
Cost & Time Estimate
- Cost: Around $60 (less if you have leftover supplies)
- Time: 1–2 days (including drying time)
Here’s the hack in action! And don’t forget to follow 마음의 온도 (translated as “Temperature of the heart”) (@n_g_r_a_y) for other fun and colorful DIY projects.
What do you think? Are you going to give this IKEA LACK side table hack a try, or do you have another take on it to share?
FAQ: IKEA LACK Coffee Table Hack
Q: How much does this project cost?
About $60, depending on materials you already own.
Q: Do I need power tools?
A screw gun and saw are helpful but not strictly necessary.
Q: Can I skip painting?
Yes — you can leave the LACK tables as-is or use contact paper for a quick finish.
NEXT: See more IKEA Coffee Table Hacks
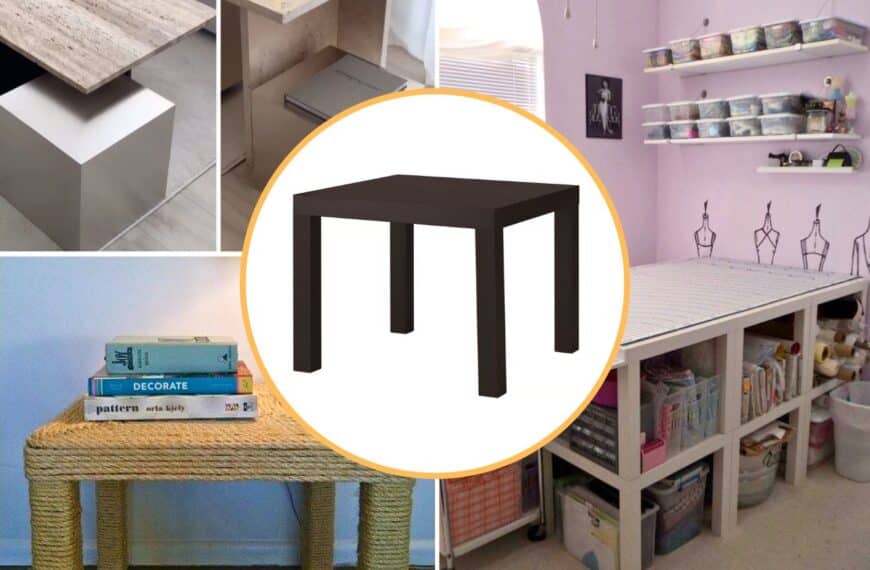
36 IKEA LACK Side Table Hacks for Clever, Low-Cost DIYs
The IKEA LACK side table is as “IKEA” as it gets. Minimal. Particleboard exterior. “Honeycomb” interior. Easy to assemble. Now available in two sizes: the classic 21 5/8″ square for…
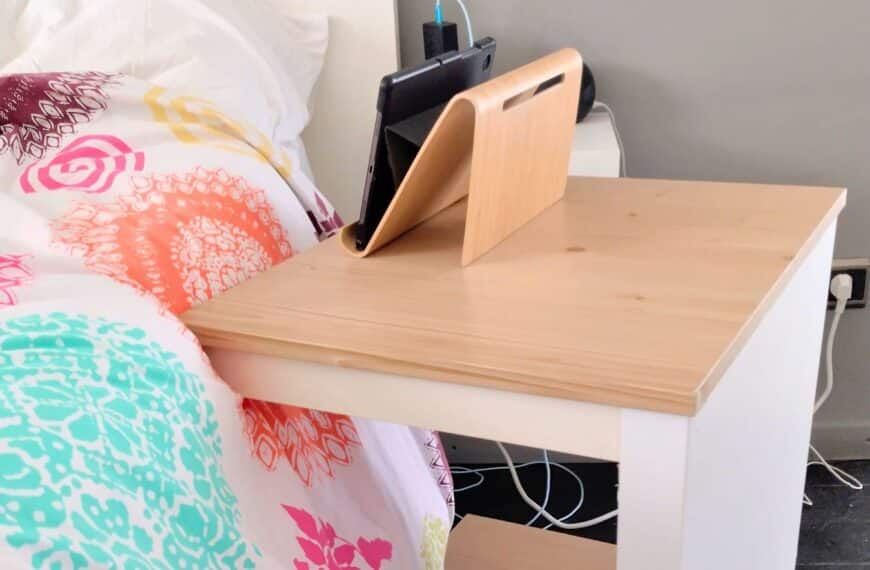
This Clever LACK Table Flip Turns It into the Perfect C-Shaped Side Table
This hack gives a whole new meaning to the idea of looking at something from a different perspective. When Jerry R.’s bedside LACK table wasn’t quite tall enough, she flipped…

This IKEA Side Table Hack Really Bowls You Over
Side tables come in handy for holding a cup of tea or a cocktail or displaying a vase of fresh flowers. They’re convenient and functional, and sometimes it’s easy to…
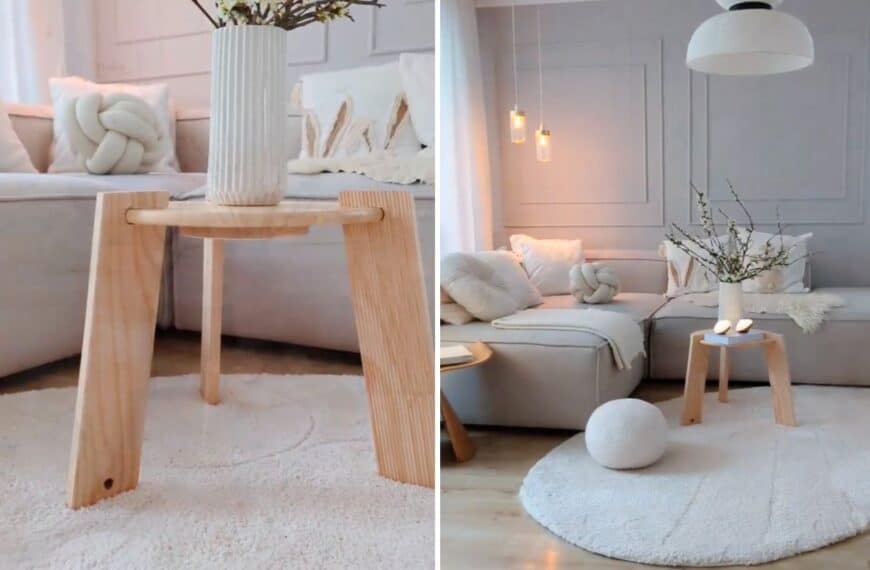
The $20 IKEA Hack That Looks Like a Designer Side Table
Do you like a good two-step? No, I’m not talking about the dance. This simple two-part IKEA hack from E. Stübing @herzenstimme makes creating a table look easy, which is…
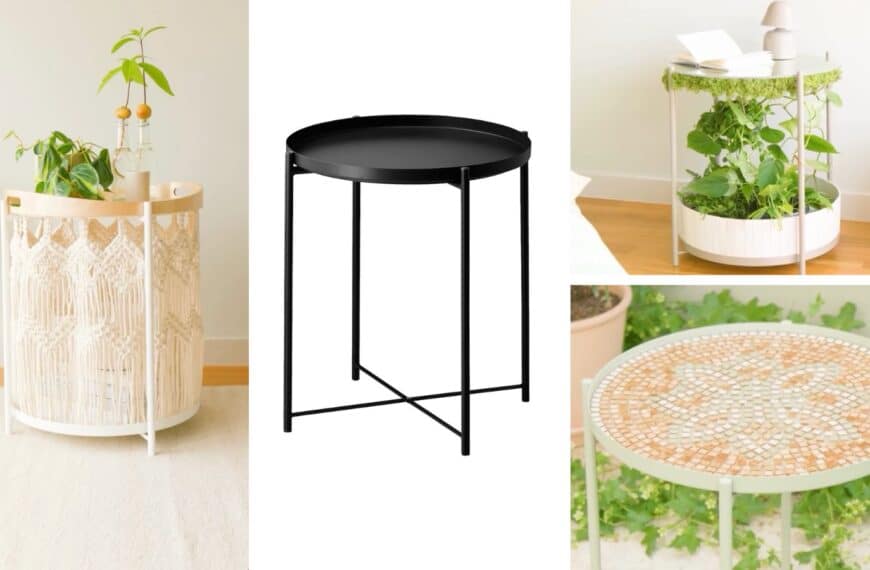
This Is Not Your Regular GLADOM: 3 IKEA Hacks That Turn Basic Into Beautiful
If you frequent IKEA, you’re likely familiar with the GLADOM tray table. The practical side table with a removable tray table is among IKEA’s best-sellers, and right now, you can…
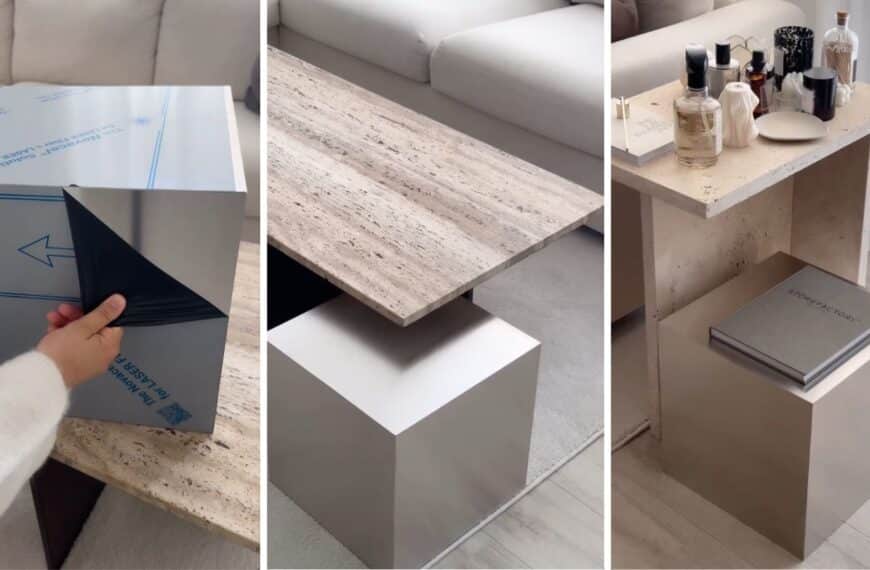
How a Basic IKEA Table Became a Viral Sensation (So Easy Anyone Can DIY It)
IKEA hacks that go viral? It’s often the simplest ideas, brilliantly executed, mixed with a healthy dose of “It’s so easy, even you can do it” appeal. The latest sensation…

