crafted a slatted wall using the IKEA IVAR)
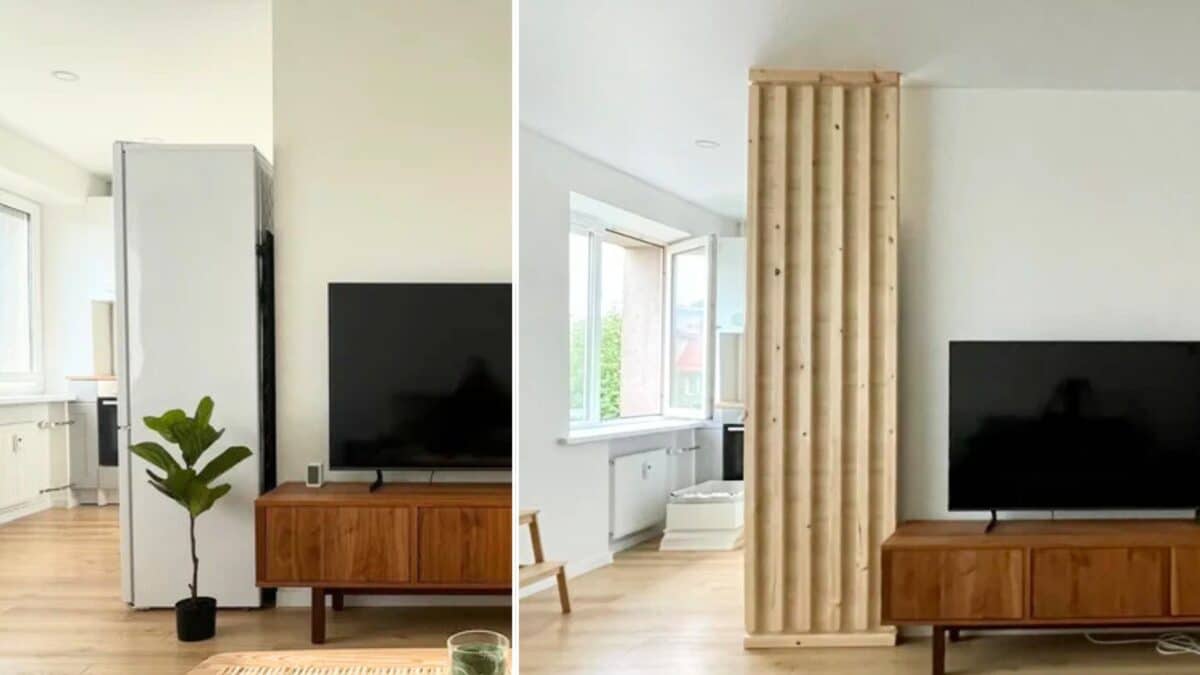
A refrigerator is great at keeping things cool, but it’s not exactly cool to look at, especially when its side ends up front and center in your living room.
Awkward, right?
That’s the design dilemma one clever DIYer faced.
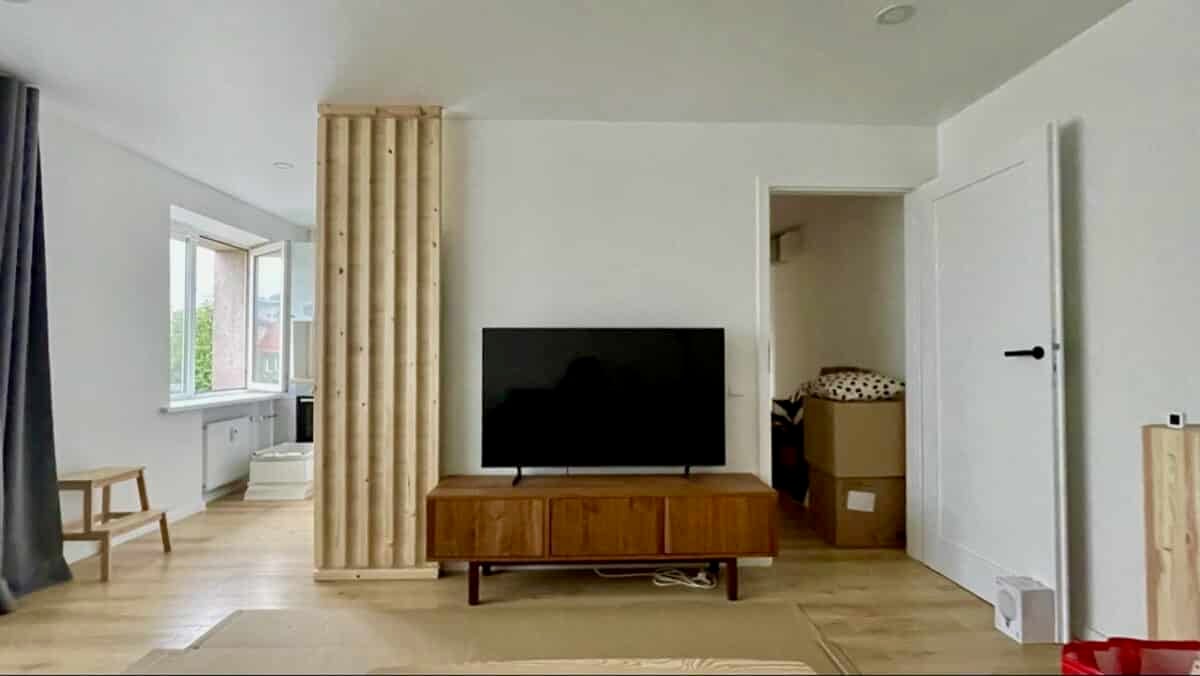
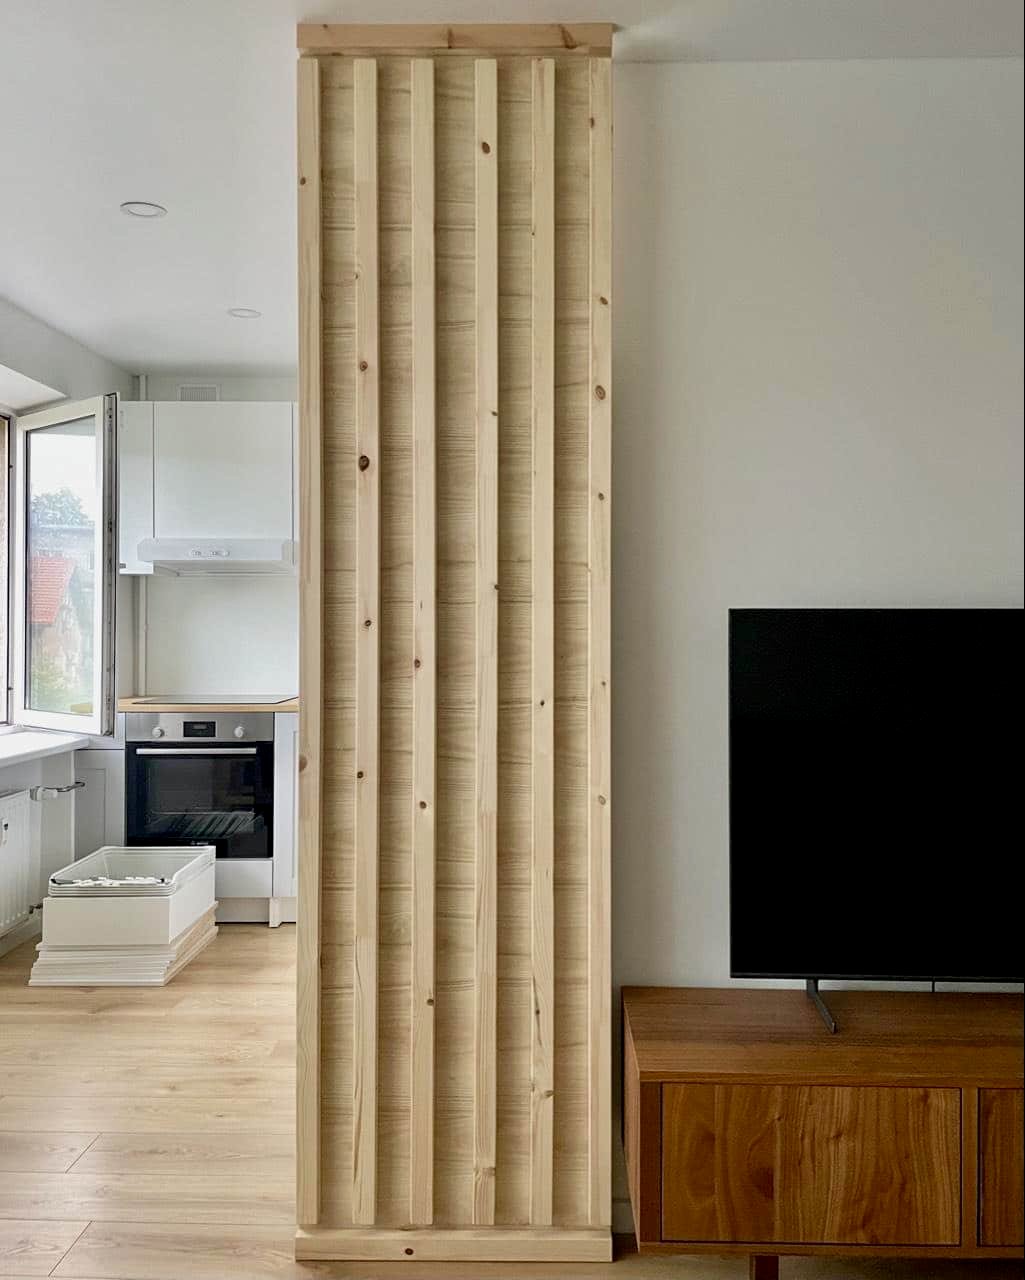
Instead of living with the eyesore, Andrew49378 (reddit) crafted a slatted wall using the IKEA IVAR side unit and the AKERSUND cover panel.
It was the best option since the ready-made slat walls available near them were “the wrong color or too busy in pattern.”
But here’s the best part: this hack isn’t just for hiding fridges.
Versatility is a superpower when it comes to hacks, and this one’s got it. I can picture this panel doubling as a room divider in a studio, hiding messy shelves, or even a statement wall.
What You’ll Need
- 3 IVAR side units (30 x 226cm)
- 1 ASKERSUND cover panel (62 x 240 cm) — this is the backer panel
- Wood Screws to attach the IVAR base to the cover panel — sized to go through the cover panel and into the IVAR slats without poking through the front of the slats.
- Some spare IVAR parts (crosspieces) – to use as spacers
- 8× 10 kg-rated magnets with screw holes — for magnetic mounting to the fridge
Tool list
- Jigsaw
- Ruler
- Masking/painting tape – to hold the IVAR legs in place before screwing
- Clamps – to hold parts down while cutting
- Basics — screw gun, drill, tape measure, pencil
Hide Unsightly Elements With a DIY Slat Wall Divider
Before you start
- The IVAR side frames have one face full of screw holes, one face with fewer holes, and two clean faces. You’ll hide the “max screw holes” face against the backer panel so only clean faces show.
- Natural wood has knots and color variation. Rotate and position pieces so busier grain/knots sit lower, where they’re less noticeable and somehow, visually, look better.
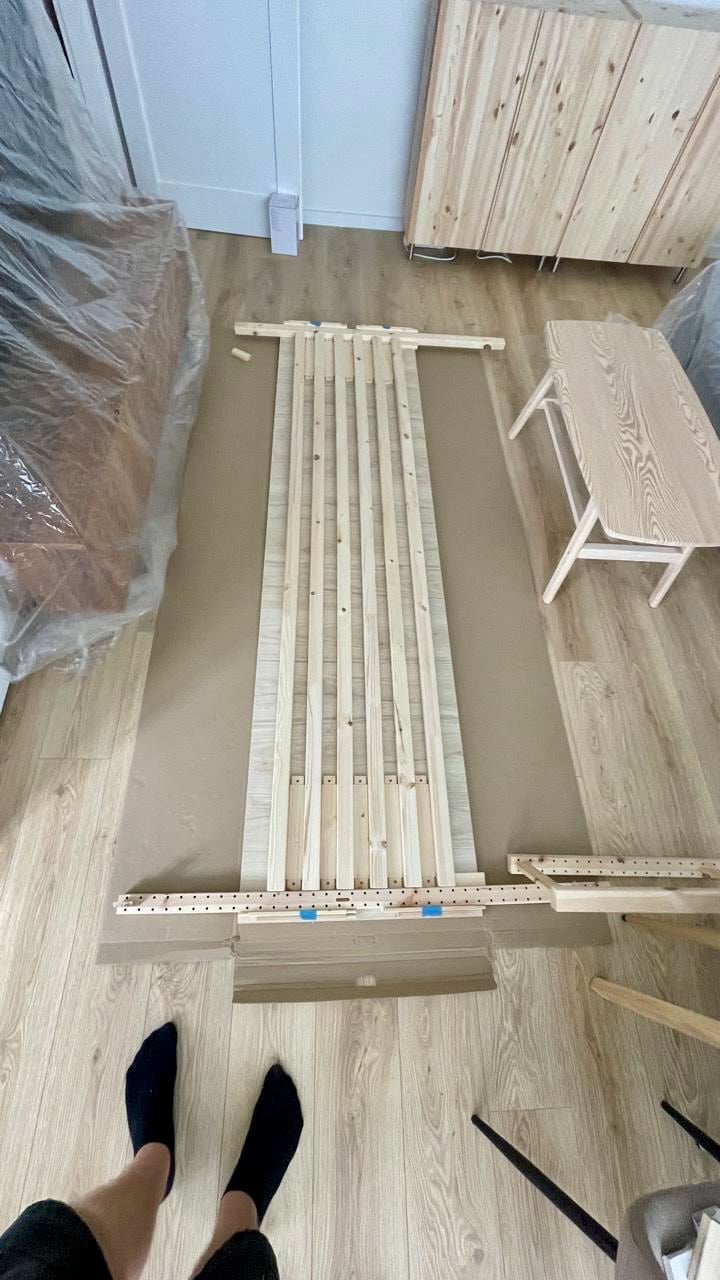
Step 1: Plan the layout (dry fit)
- Lay the ASKERSUND panel face down on the floor.
- Disassemble or cut apart your IVAR side units to obtain straight slats (these will be your vertical slats) and a couple of crosspieces for top and bottom rails.
- Place the vertical IVAR slats on top of the panel to test spacing and orientation.
- Keep the “max screw holes” side facing down (against the panel).
- Shuffle and flip pieces to balance the grain/knots visually.
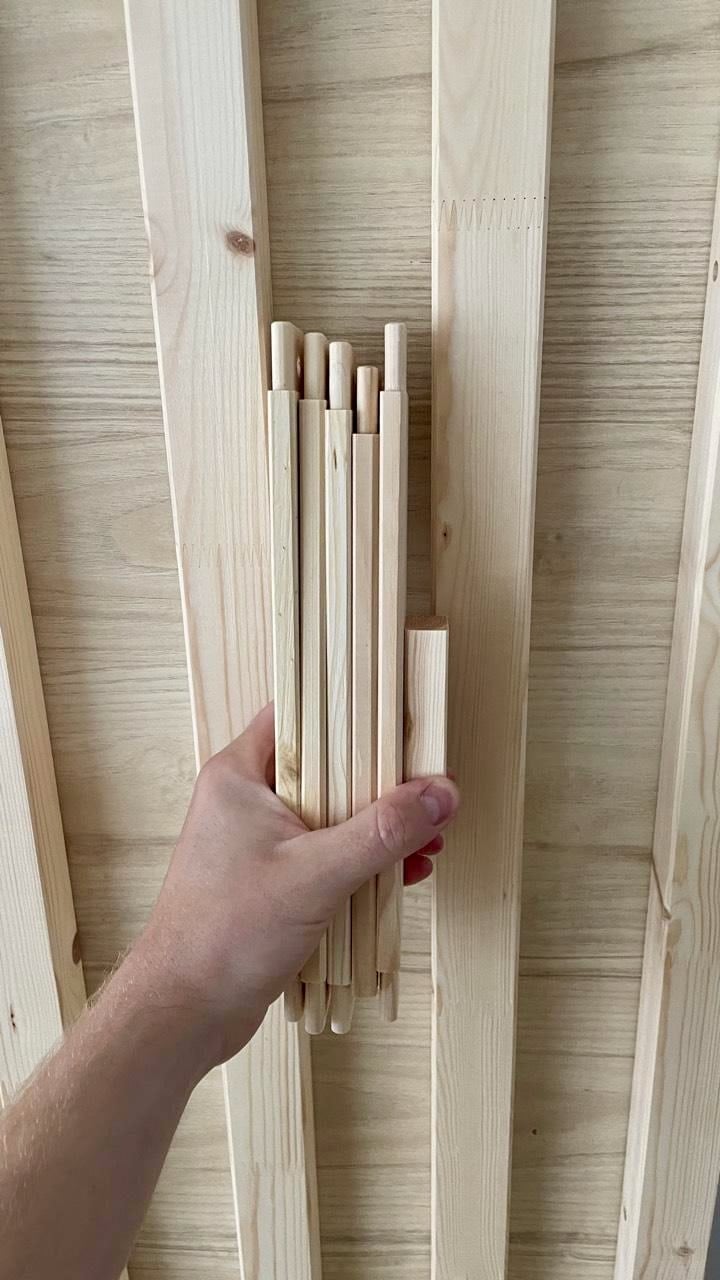
Spacer template: Stack 5 IVAR cross pieces + 1 thicker piece to form a repeatable gap. This will be your go-to spacer between vertical slats during layout.
Andrew’s final layout used six vertical slats total. He set three from the right edge and three from the left, accepting that the middle gap would end up roughly 1 cm wider than the rest—barely noticeable in practice.
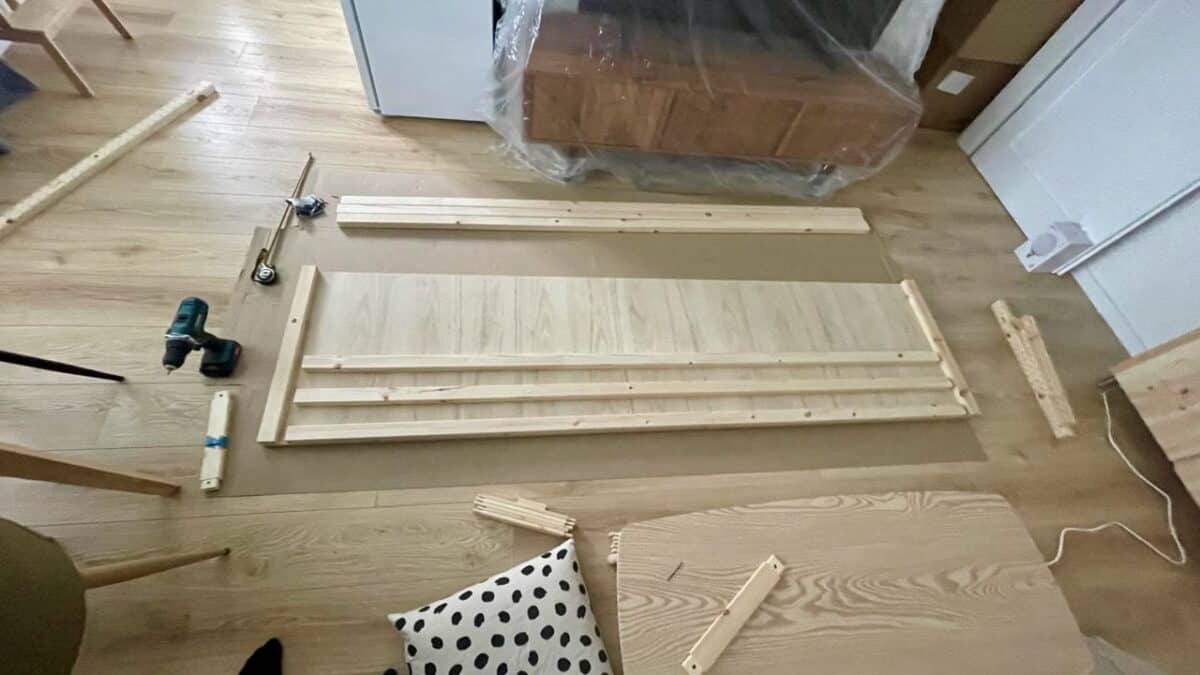
Step 2: Size the top and bottom rails
- Choose two straight IVAR pieces for the top and bottom rails.
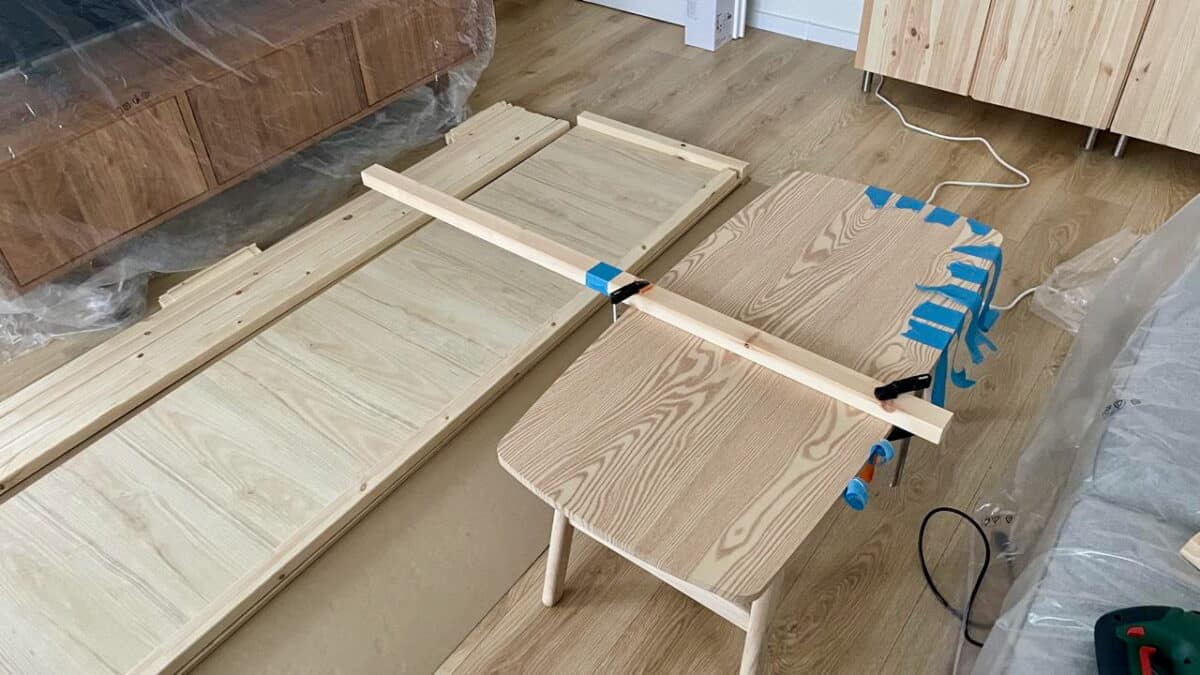
- Measure 62 cm (the width of the ASKERSUND panel), mark, clamp to a table, and cut with a jigsaw.
- Sand cut ends lightly if needed.
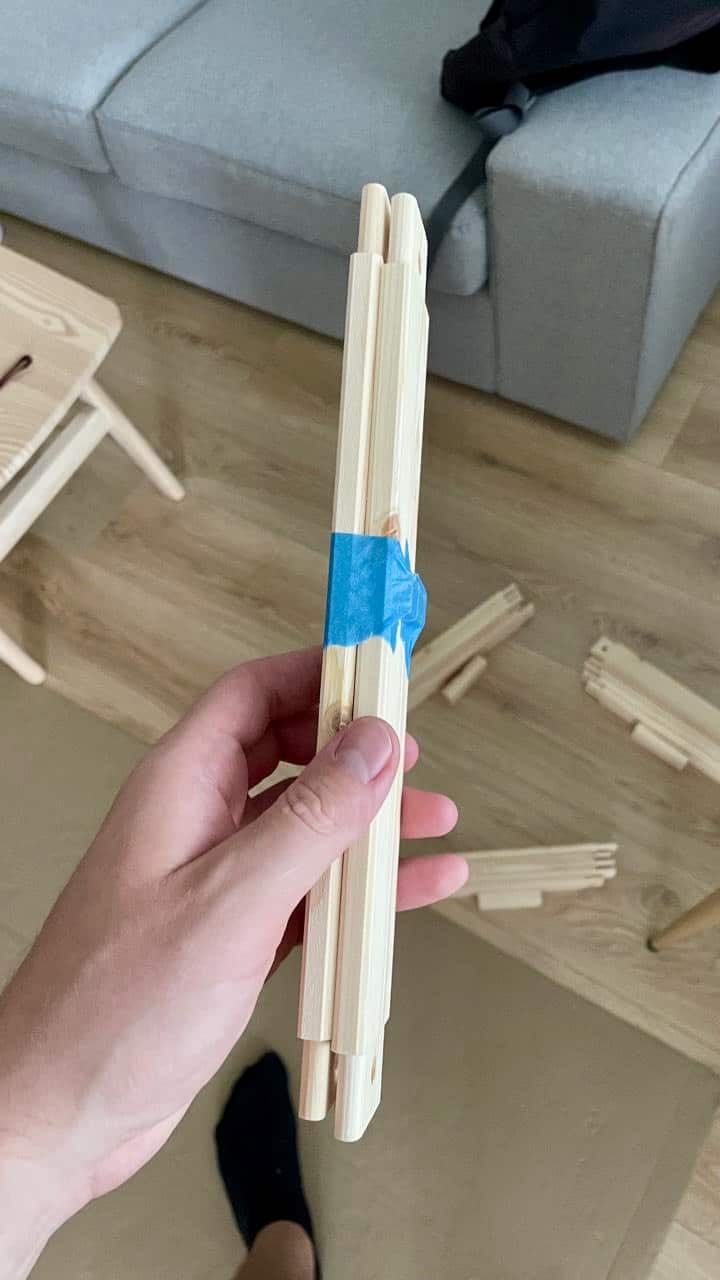
Rail spacer template: For consistent gaps where each vertical slat meets the top and bottom rails, use 2 IVAR connector blocks + 1 magnet as the spacer. This yields uniform reveals; the top gap may end up about 0.5 cm smaller, which is visually negligible.
Step 3: Final dry fit and alignment
With all pieces on the panel, use your spacer stack between slats to standardize gaps.
Confirm the layout fits the panel with even edges left and right.
Expect that the center gap may be ~1 cm wider—this is okay and hard to spot once installed.
Step 4: Fix the rails first
- Position the top and bottom rails at the very edges of the panel.
- Use masking tape to hold them in place temporarily.
- From the back of the panel, pre-drill small pilot holes and drive screws into each rail to secure them.
Step 5: Attach the vertical slats (right side first)
- Starting at the right edge, align the first slat flush with the rail ends. Tape in place.
- Flip the entire panel carefully onto its side to access the back.
- From the back, drive screws through the panel into the slat.
- For the 2nd and 3rd slats, measure from the panel edge to the slat center, mark, and pre-drill tiny guide holes before driving screws.
- Pre-drilling helps you hit solid wood and avoid “missing” and punching through the front.
Step 6: Repeat from the left side
- Move to the left edge of the panel and repeat: set three vertical slats using the same spacer stack and taping method.
- Again, pre-drill from the back for accurate screw placement.
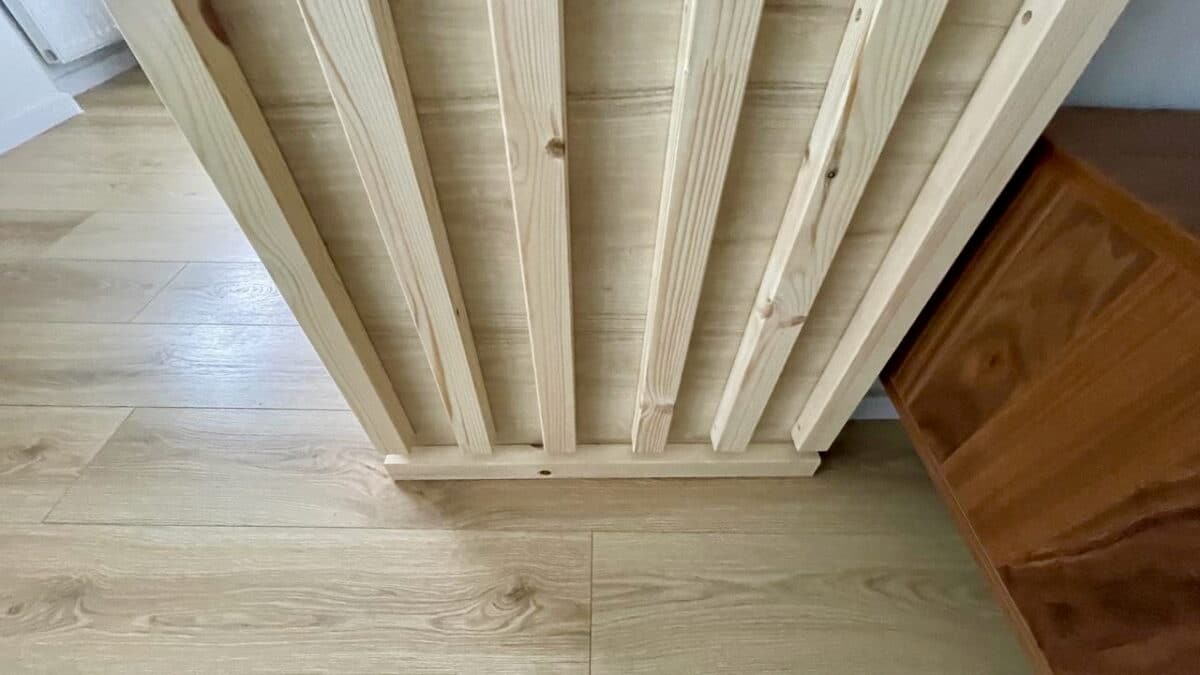
- You should now have three slats from each side with a slightly wider middle gap (~1 cm) that reads as intentional once upright.
Step 7: Mounting with magnets (no drilling into home surfaces)
Andrew says, “I didn’t want to drill into my floor, wall, or ceiling, so I opted for strong magnets instead.” The panel remains detachable and works as a renter-friendly solution.
“The magnets work for me, and the panel stays in place during normal fridge use – but it’s also detachable if I ever need to move it,” he adds.
- With the panel still face down, mark the contact zones where the fridge side will touch.
- Install 8 magnets on the back of the panel:
- 4 at the top, 2 in the middle, 2 at the bottom.
- The top gets more magnets because tipping forces are greatest there.
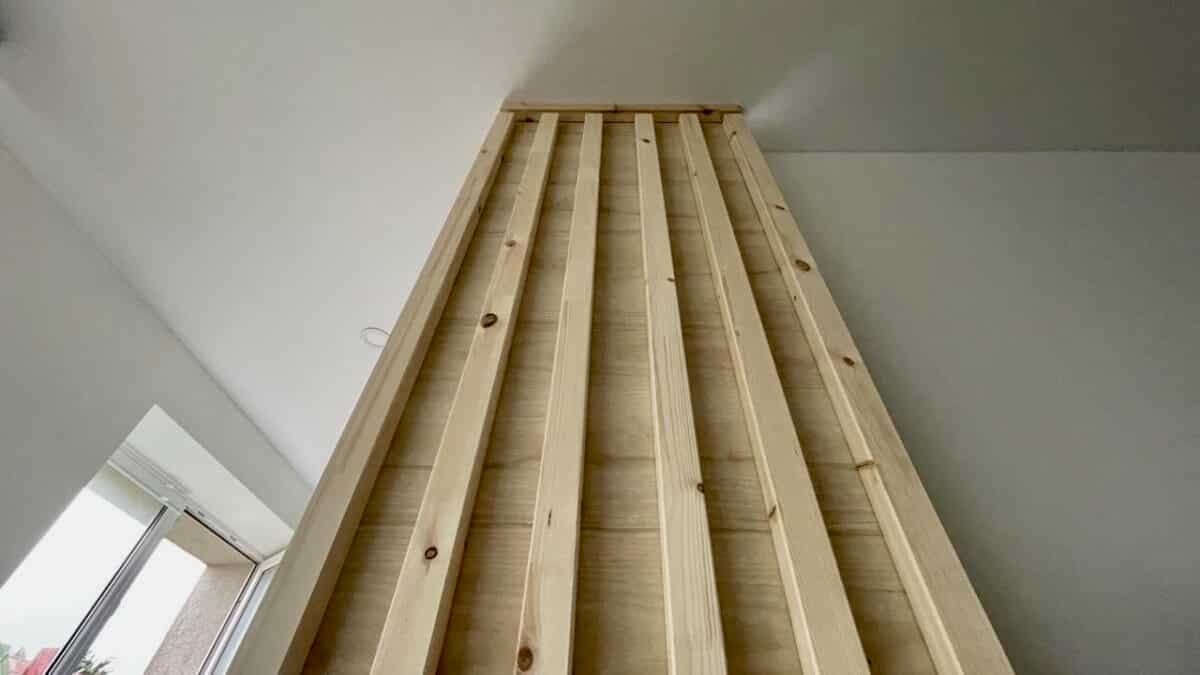
- Stand the panel up, align it with the fridge side, and let the magnets snap to the appliance. Make micro-adjustments until plumb and tight.
- The panel should rest on the floor; magnets keep it upright and snug.
Alternative: Fixed installation
If you have kids, pets, or high-traffic concerns, secure the panel with L-brackets to the wall or the floor/ceiling for maximum stability. (You’ll trade detachability for rock-solid safety.)
Pro tips
- Orientation matters: Always hide the hole-heavy face of each IVAR piece against the backer.
- Consistent gaps fast: Use the spacer stacks every time you position a slat or meet a rail.
- Avoid tear-out: Clamp wood before cutting with the jigsaw; use a fine-tooth blade.
- Grain control: Keep darker knots and busier grain toward the bottom for a calmer upper field.
This is it! The hacker said they might post a full tutorial if enough people are interested, so make sure to head over to the hack and leave a comment if you want to see more!
What Else Could You Do With This Slatted Wall Panel?
Some comments suggested staining the wall, but others preferred it natural. Paint is another option, or cover the panel with fabric or wallpaper, or anything else that suits your style.

If you crave symmetry, create another panel for the wall on the other side of the TV (if you don’t have a doorway there like the hacker, unless you really want to get full-scale DIY and build a door into the panel — but that’s a whole other hack).
You could add a cover and slats to the opposite side of the panel if you want a double-sided finish. This is likely unnecessary if you’re butting your panel up against a fridge, but if you’re using it as a divider, it makes sense.
Instead of slats, finish things off with artwork or small picture ledges. Or, add pegboard panels if you need more storage in your space. If you don’t want, or can’t (sorry, renters), screw into the walls or ceiling, try a freestanding screen or divider.
What do you think? Would this hack work as camouflage for your fridge? How else could you use it in your home? Share your thoughts in the comments!