
Awkward space under the stairs doesn’t stand a chance thanks to clever hacks like this one from Laura Deller.
A sideways KALLAX unit wasn’t cutting it, so Laura worked her magic (and impressive DIY skills).
After casting the perfect spell, she has custom storage that maximizes the space under the stairs and makes it much more efficient.
She said the roll-out shelving is perfect for hiding her DIY tools and odds and ends out of sight.
However, you can also use it for shoes, handbags, books, or anything else you want to tuck away. Here’s how she did it!
What You’ll Need
- 1 IKEA KALLAX unit (16 ⅜” x 57 ⅝”)
- 1 IKEA KALLAX unit (30 ⅛” x 30 ⅛”)
- MDF panels
- Trim, molding
- Wood filler
- Sander
- Nail gun
- Primer and Paint
- 4 casters
- Level
- Handle
- Painter’s tape
- Basics — screw gun, drill, saw, tape measure, pencil
Create Stylish Shelving and Roll-Out Storage for Under the Stairs
1. Assemble the KALLAX
Put together the KALLAX units according to IKEA instructions. The shelving Laura used fits well under her stairway, but measure your space before choosing your KALLAX. You might need a different size or simply need to cut your shelves a bit differently.
2. Add Wheels and Position KALLAX Under Stairs
Put four casters on the shorter KALLAX shelf to enable it to roll in and out of place. Laura used low-profile, one-direction casters that simply rolled back and forth. However, if you plan to roll your unit in multiple directions, consider getting 360-degree wheels.
Cut the tall KALLAX down as needed to fit under the stairs, then put the shelves into position. If necessary, add trim or framing to the side to give the KALLAX pieces a more built-in look.
The taller unit rests against the baseboard trim, so Laura carved out a notch in the side of the shelf.
This cut-out allows the shelf to fit seamlessly over the baseboard molding and up against the wall.
3. Add MDF and Trim
Secure the MDF panel to the side of the rolling KALLAX. Laura opted to give her panel a shiplap effect. Then, box in the units at the back and on the sides.
Attach trim to the KALLAX units to give them a more polished and cohesive look. Laura used a vertical ribbed pine trim for the edging of the shelves and MDF panel.
4. Sand, Fill, Prime, and Paint
After adding the trim, fill all the nail holes with wood filler and sand everything back. Prime and paint to give the unit a complete, built-in look that’s sophisticated and stylish.
5. Add the Handle
Laura added a long handle to the rolling shelf unit to make it easy to pull it out when needed. To get the holes just right, she used a popular DIY trick with painter’s tape.
Apply the painter’s tape over the back of the handle and mark the screw holes on the tape.
Then, remove the tape and apply it to the side of the shelf, making sure it’s level. Now you know exactly where to drill the holes for your screws.
From Repurposed Pieces to Perfection
One of the commenters asked Laura why she wouldn’t just make everything custom to start with, but then realized she was repurposing old pieces. That’s what makes this hack even more amazing — Laura utilized pieces she already had. The two KALLAX units were from her kids’ rooms, where they were serving as toy storage.
Even better? She originally bought them off of Facebook Marketplace! In other words, you don’t have to spend a lot of money to create something truly special.
See what you have around the house that you can give new purpose to, or scope out online marketplaces and secondhand shops to repurpose an old piece and give it new life.
Check out part one of the hack and the rest of the under-stair storage project, and follow Laura Deller @housprojectuk for more inspiring home transformations.
Have a hack you’re proud of? Show us how you transformed your favorite IKEA piece into something brilliant! Your project might be our next feature!
NEXT: More storage ideas for awkward under stair spaces
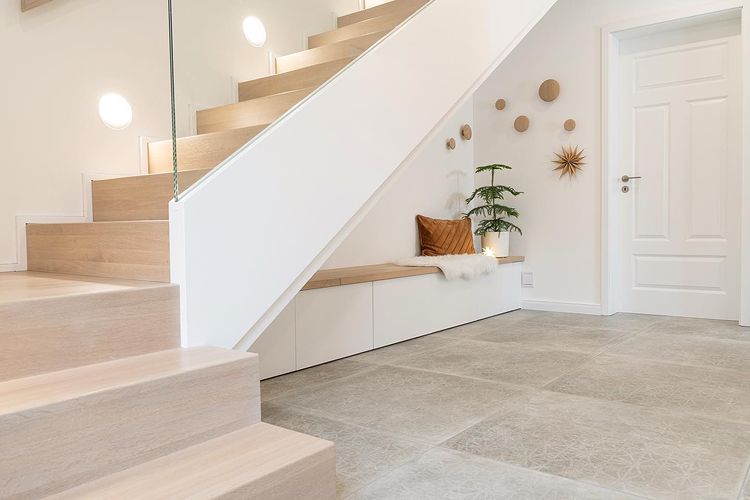
10 Ideas to Maximize Your Under Stairs Storage with IKEA
Using the space under your stairs for storage is a clever and convenient solution. However, finding the proper storage unit that fits ideally can be a challenge. In this post,…
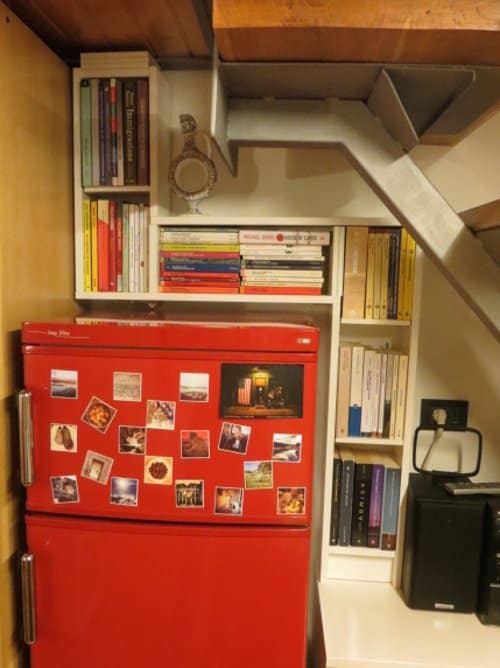
Gnedby under stairs storage
I already had at home a piece of IKEA furniture (model Gnedby) used as a library. I still had to cover a gap between the fridge and the cupboard, so…
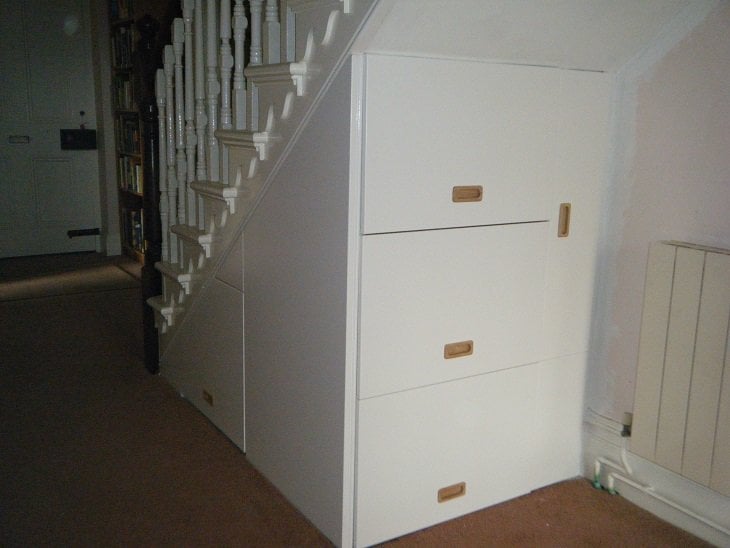
The Understairs Storage Metod
Materials: METOD kitchen units, Maximera drawers, Veddinge doors and drawers The cupboard under the stairs had a narrow doorway, just two shelves inside and the area at the far end…
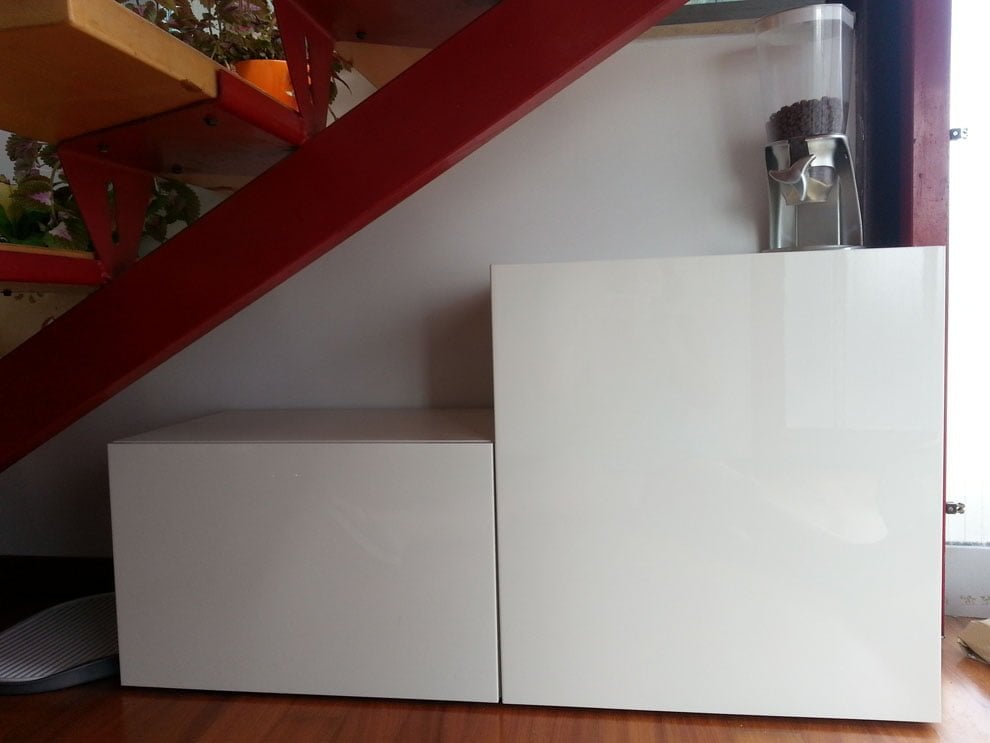
Another Besta cat litter under the stairs
Materials: besta shelf unit 60x40x38 cm besta shelf unit 60x40x64 cm 2 doors 1 sheet of coroplast or polionda Description: I was inspired by other posts about cat litters so…
Kitchen under the stairs
Materials: Faktum Nexus, Perfekt Nexus Description: Initially we didn’t plan for a two-storey house, but when we came up with the definitive plan, I decided that we should use the…