
In our first home, we had no window trim at all, so I added this Craftsman-style molding around most of our windows in that house. I’m sharing that tutorial here, and a simpler version as well.
First up, the simpler version that works if you already have casing around your windows, but want to beef it up a bit.
Before we start, here’s a helpful diagram of this type of casing around a window:
You can see here how simple it is really…and if you’re starting with existing trim it’s even easier!
Tutorial #1: Adding to existing window trim.
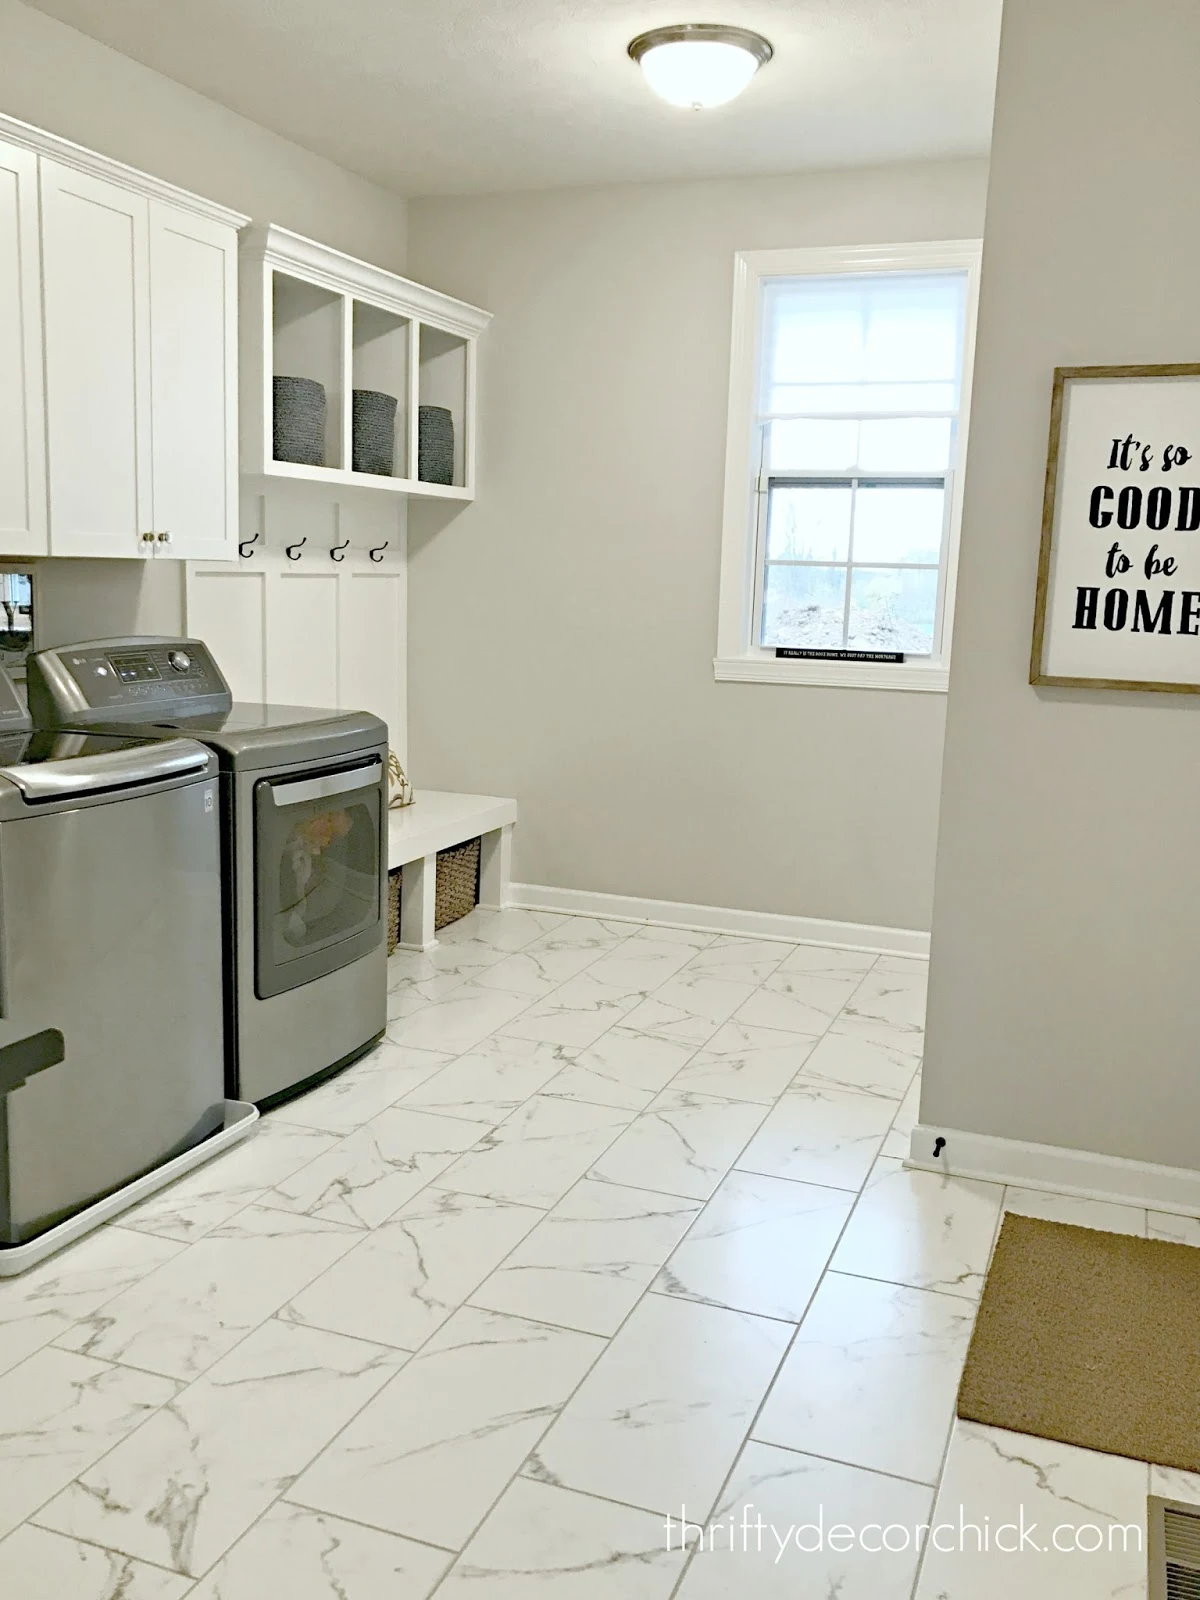
I’ve been working on some updates in our mud/laundry room, and I figured I’d beef up the window trim in this room while I was at it:
This post may contain affiliate links for your convenience.
I may earn a small commission when you make a purchase through links.
This is a before before pic of the room, but it’s the best I have of this window.
The beauty of this version of the tutorial is I only had to focus on the top and bottom of the window — no need to remove the casing on the sides.
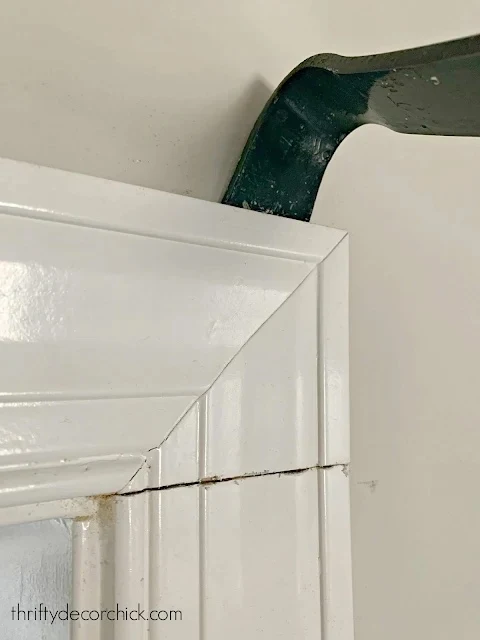
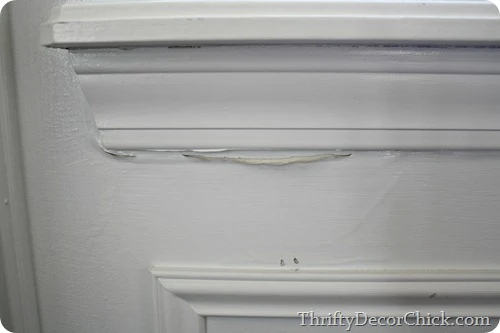
To remove the apron, make sure to score the caulk around the trim first — then tap a flat painter’s tool or a crow bar under the trim to start pulling it away from the wall:
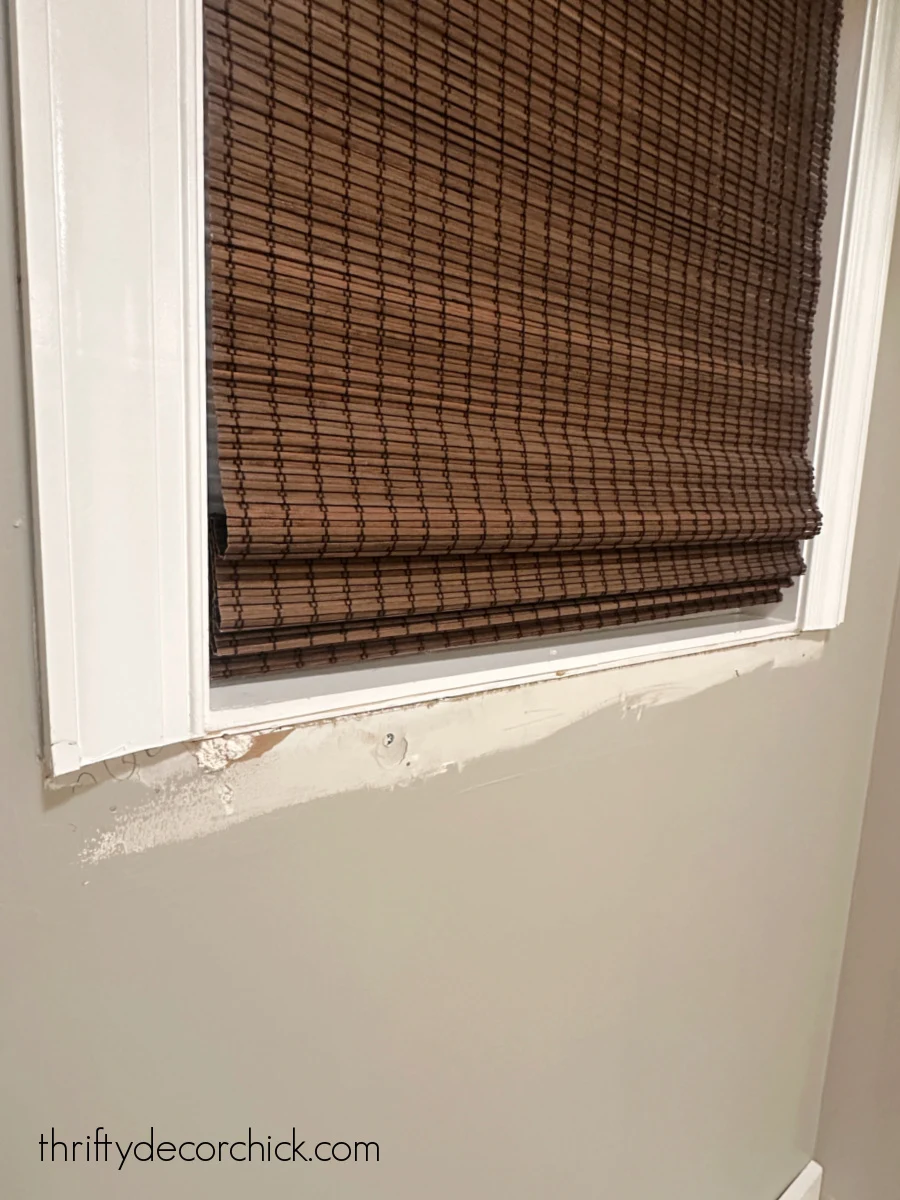
You’ll probably have some long nails still intact — you can pull those out, or just do as I do and hammer them into the drywall:
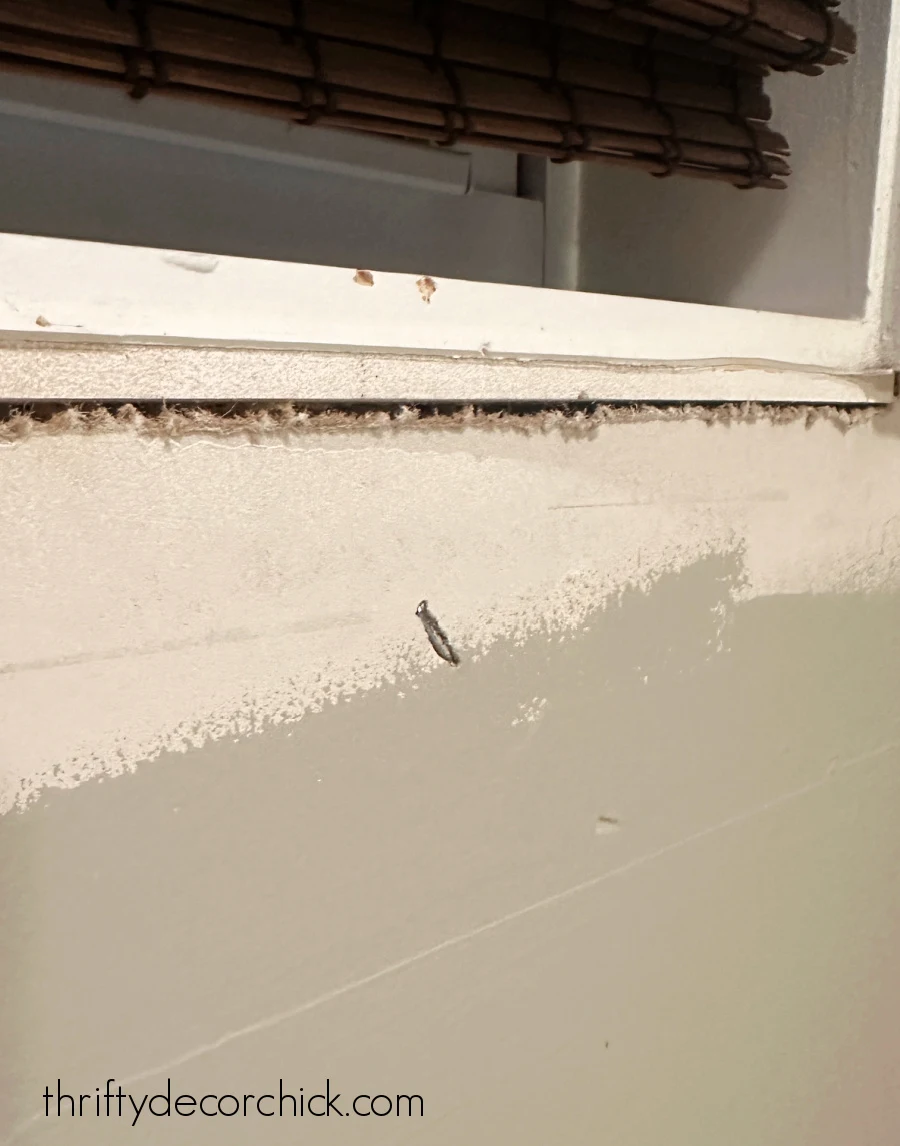
Make sure they are fully pounded into the drywall and not popping up at all. You’ll want to remove any residual caulk leftover as well.
I use a simple 1×4 primed piece of wood for the new apron:
That’s it!
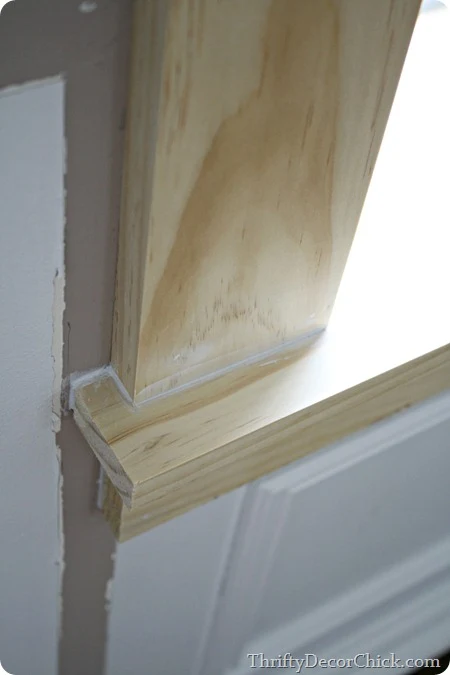
The topper of the window trim is made up of three pieces of trim — thin lattice molding, a 1×2 and a 1×4:
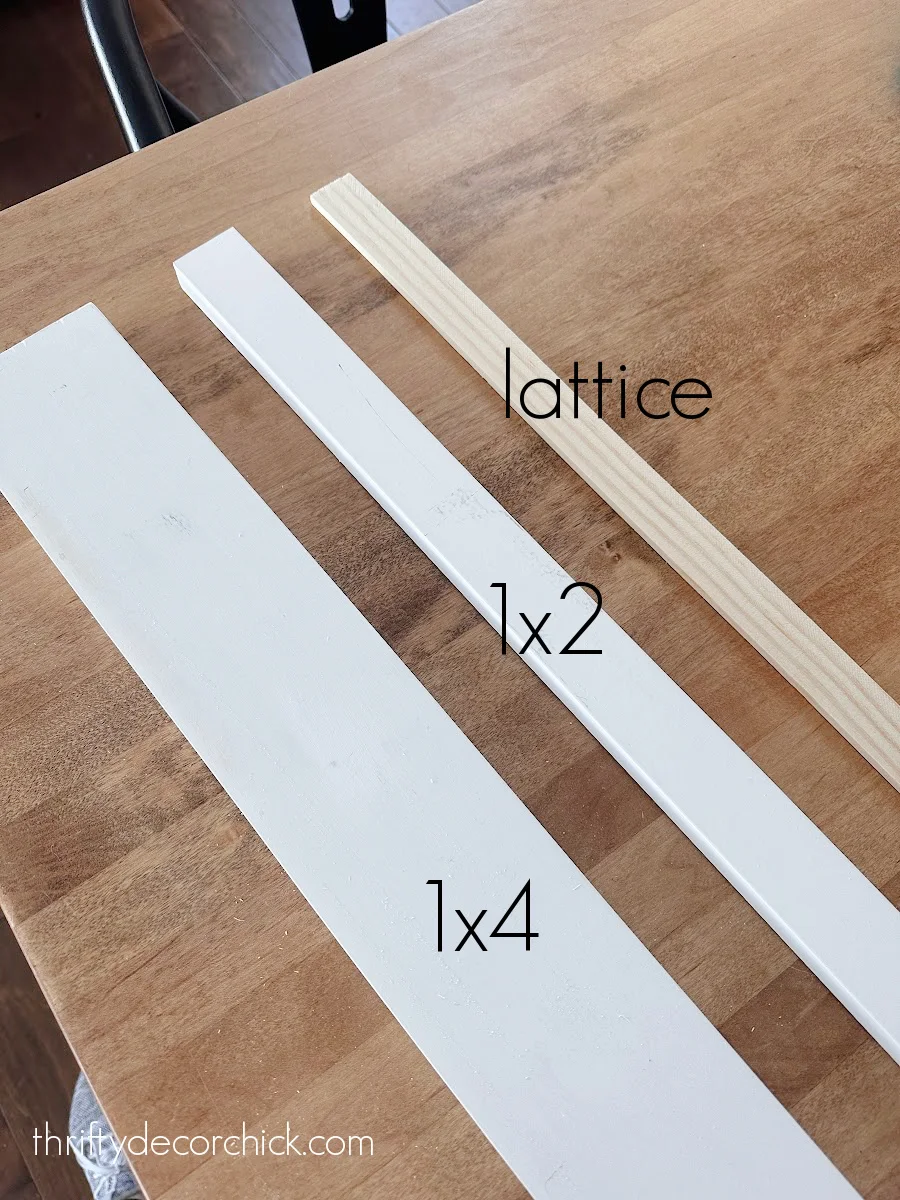
Over the years I’ve also used a trim piece called “stop” for the bottom portion. Both work great, the lattice is just a bit cheaper.
I like to build and paint this portion off the wall — it’s just easier than of up on a ladder.
Since my window measures 35 inches across (with the vertical trim on each side), I cut the 1×4 at the same width (35 inches) and the other two at 35.5 inches so they are longer by a quarter inch on both sides.
This gives the window more dimension and interest, instead of all of the trim lining up perfectly. (You’ll see this in photos below.)
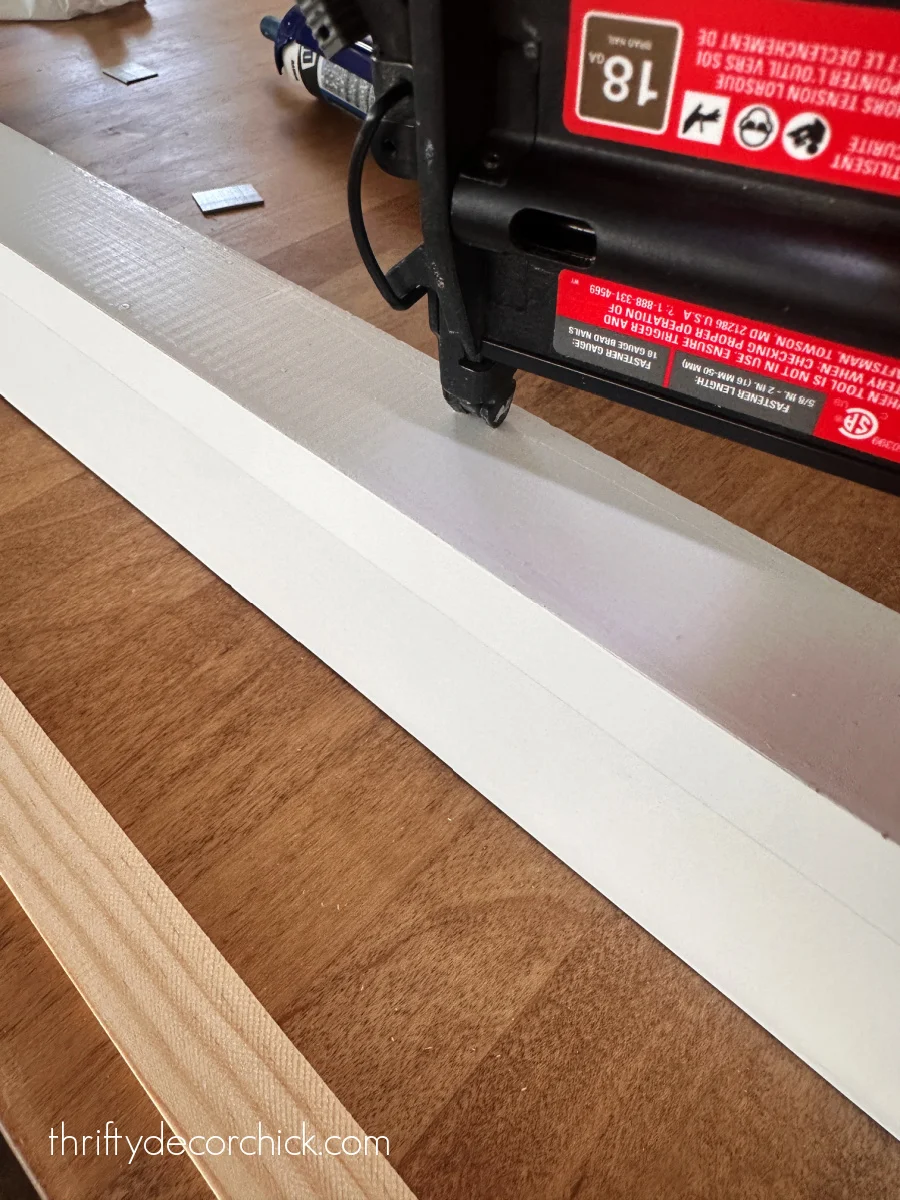
A nail gun is very helpful for this project! Nail the 1×2 onto the top and the thin lattice to the bottom:
Once all of the pieces are secured, you can fill holes, caulk and paint before installing on the window.
I use a semi-gloss finish for all of my door and window trim paint.
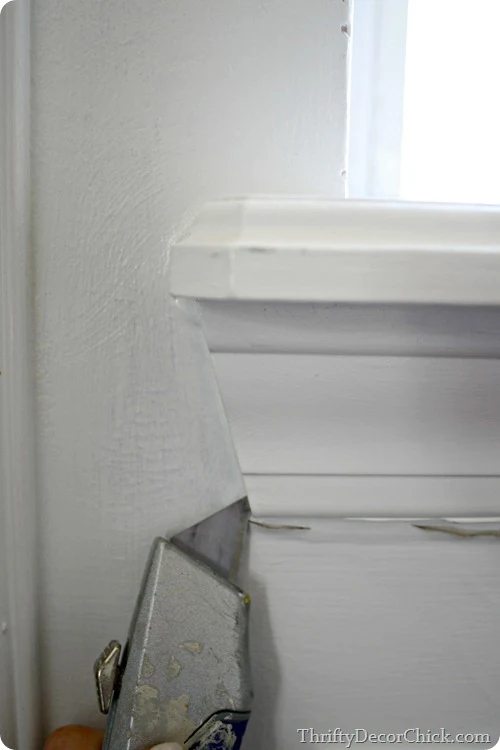
Before installing the new topper, I had to remove the existing trim at the top of the window. To do this, I used a level to mark a straight line where I wanted to cut.
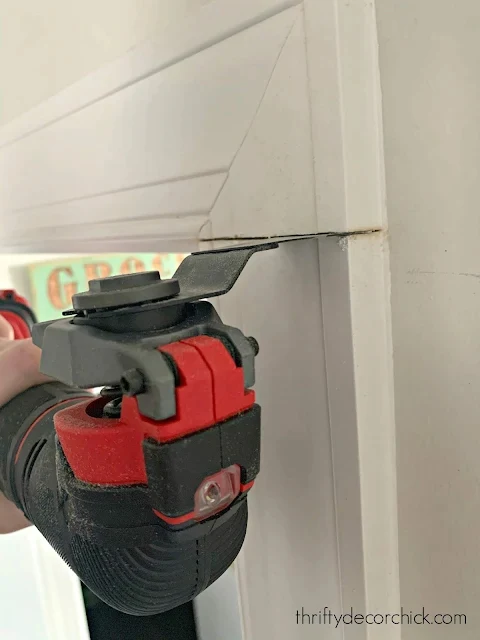
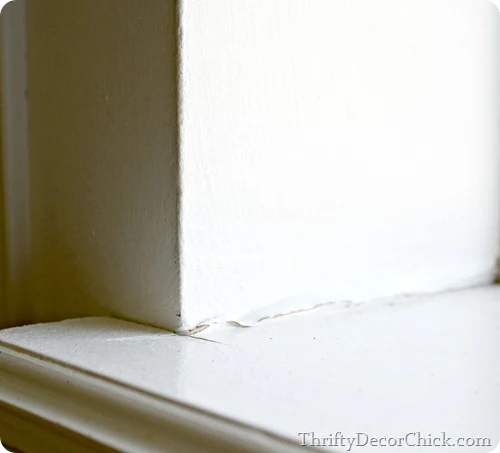
Make sure to score the caulk around this portion before removing (just like the bottom apron):
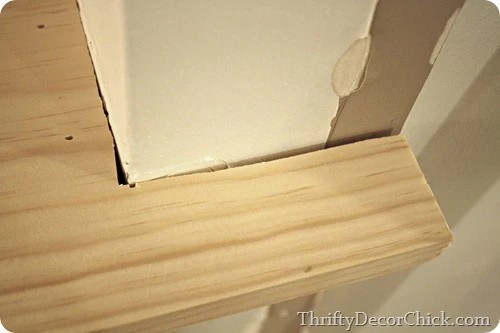
When that part is removed from the wall, you can place the new topper right on top of the existing side casing around the window.
After everything is installed, I like to do a fresh bead of caulk around the window and where the new trim is installed. It will give you a more professional and finished look!
I find it easier to mark where I want the caulk with painter’s tape — this gives me a super clean line on the wall when I pull the tape away:
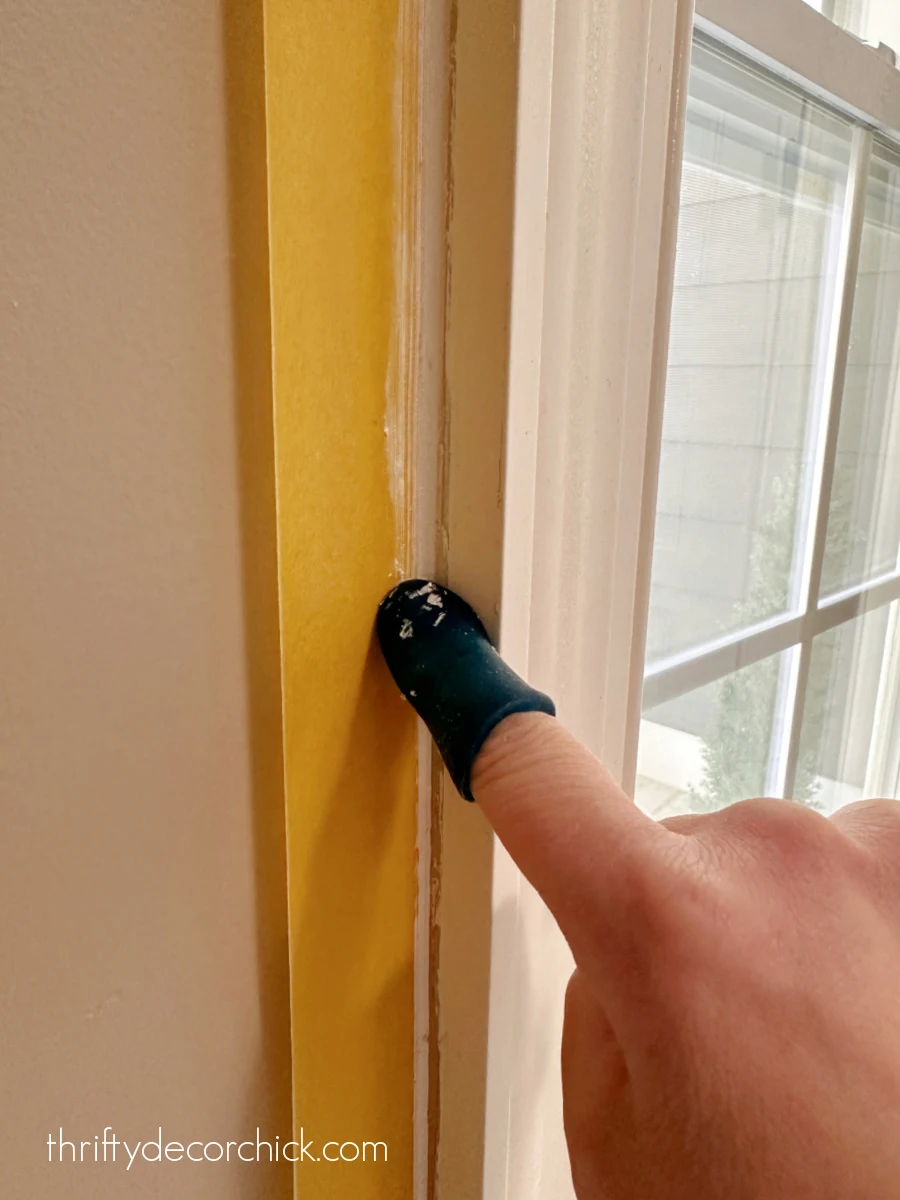
They are called Turbo Caulk and save your fingers big time. And when you’re done, they make a great “cap” for the caulk in between projects.
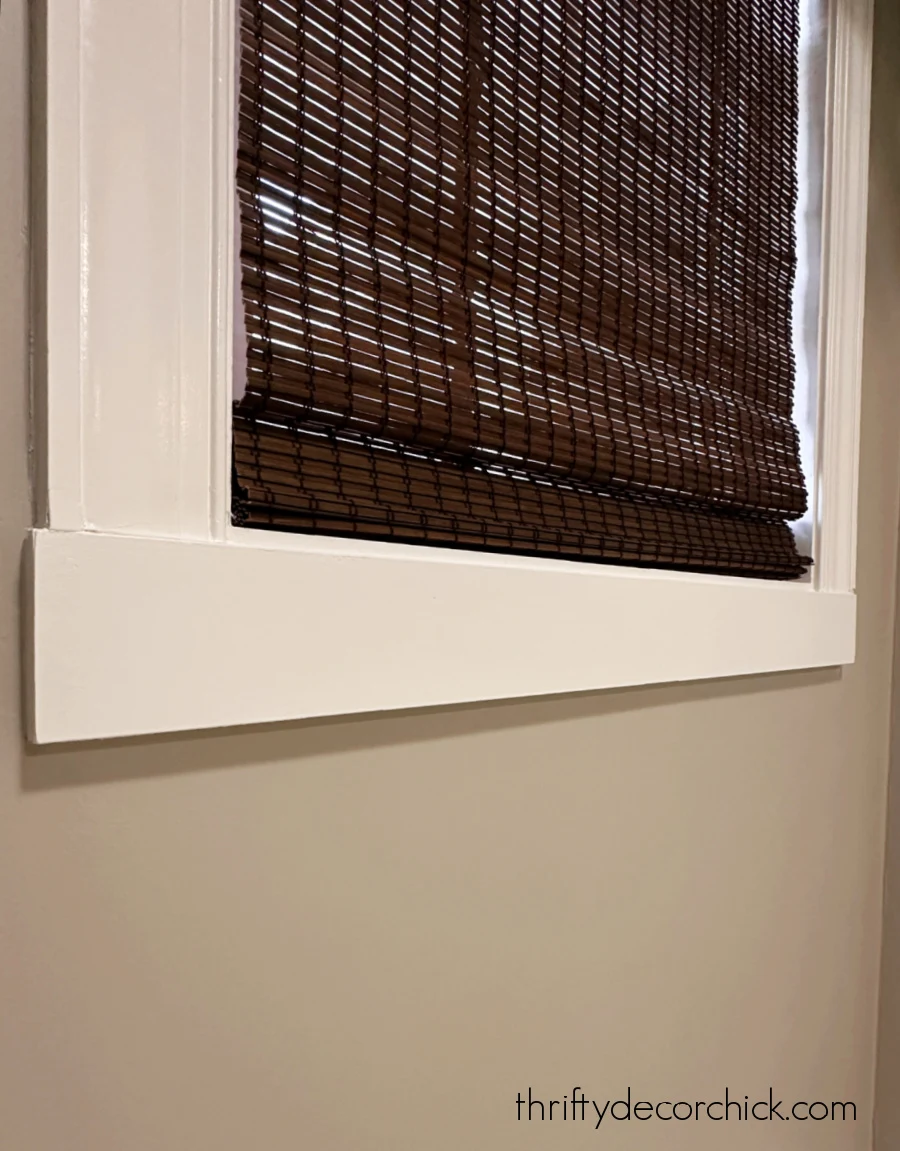
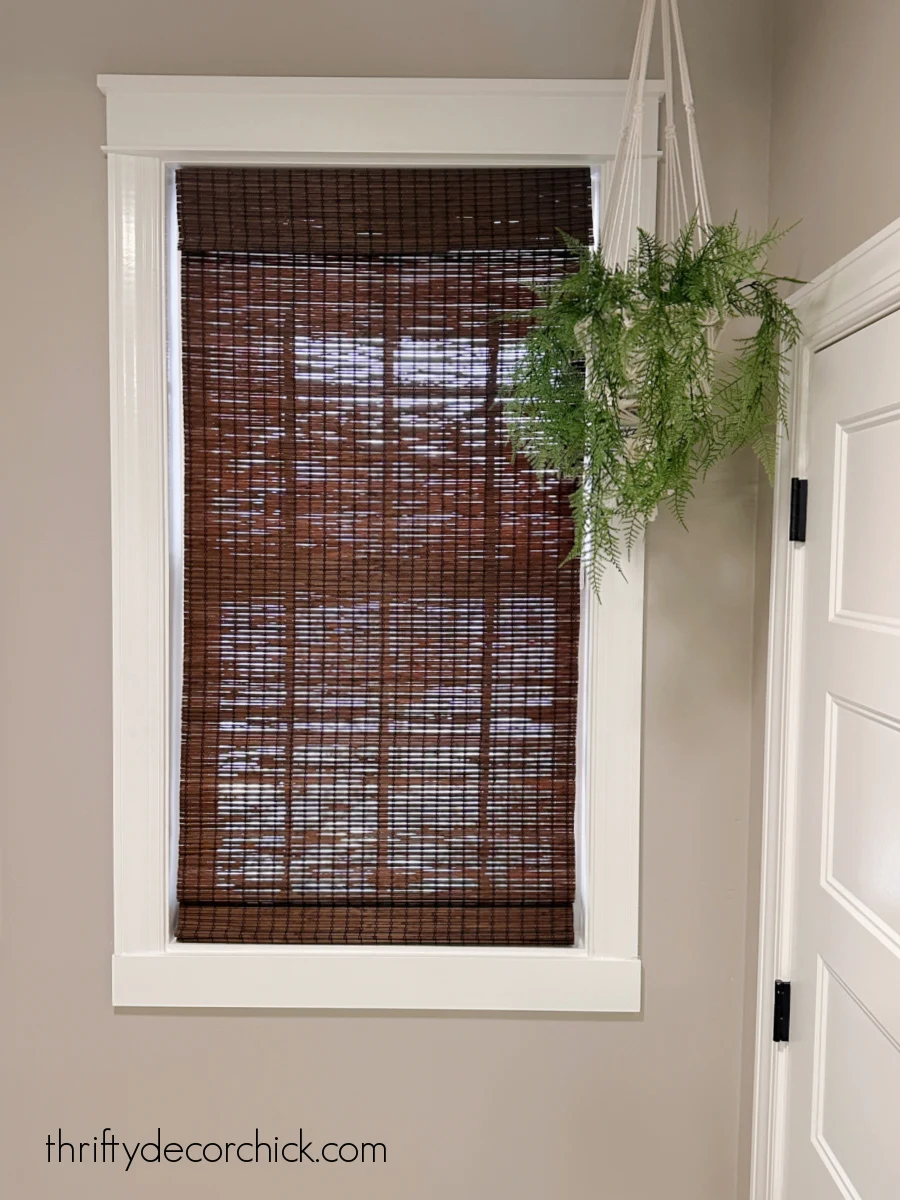
Here’s how this simpler window trim looks when complete:
You can create this same DIY Craftsman trim over doors/walk throughs as well:
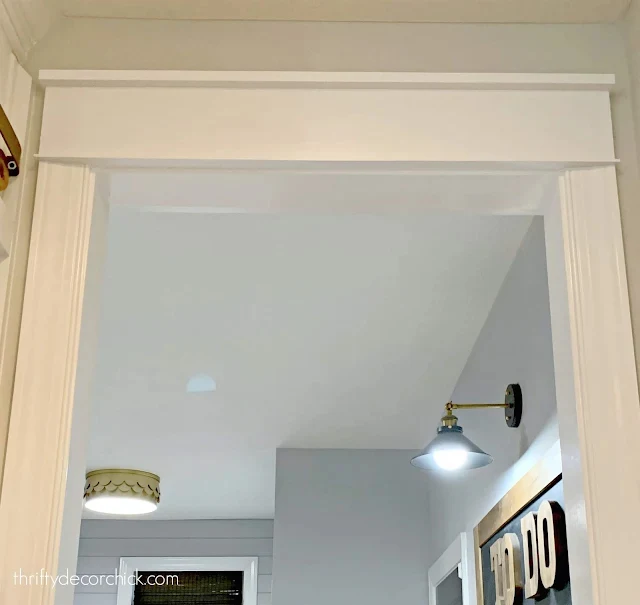
If you’re starting from scratch and have no trim around your window at all, you’ll want to use this next tutorial!
Tutorial #2: Adding Craftsman trim to windows with only drywall.
This method will give you the true, classic Craftsman window casing, since you’re starting from scratch.
We had a frigid winter one year and the window was iced up and when it melted into the wall. That area below the apron was a big bubble of water. 😖
Just like the earlier tutorial, take a crow bar and start pulling up the wood.
When I worked on one end at a time (instead of trying to pull the whole thing up at once) it helped a bunch. I just focused on one side and got that up and clear of the drywall, then got the whole thing out.


I kept that all for future projects. (I used it on all of the wainscoting in this room.)
Also, our window sills are deeper so I had to use 1×8 wood instead of the standard 1×5. I followed Cristina’s instructions and used the old sill as my guide to cut the new one.

Here’s how it looks installed on the window:

I followed my traced lines with a jigsaw to cut it out. Don’t worry if the lines aren’t perfect!:
They will be mostly covered with the new casing on each side of the window.
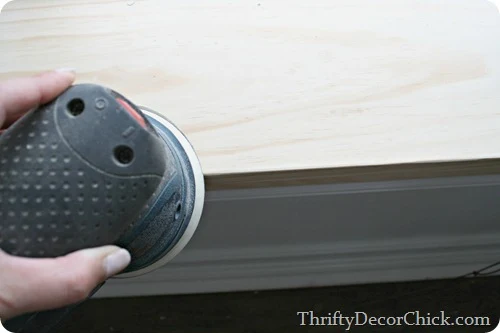
I just knock it down a little so it doesn’t have such a hard corner, but it’s not necessary.
After replacing the sill at the bottom, I installed the side casings and then I built up the top portion and installed it just as I did in the first tutorial.
Remember the 1×2 and stop on top and the new sill/stool on the bottom will be a bit wider than the other pieces.
Here’s how this Craftsman molding treatment comes together on a window:


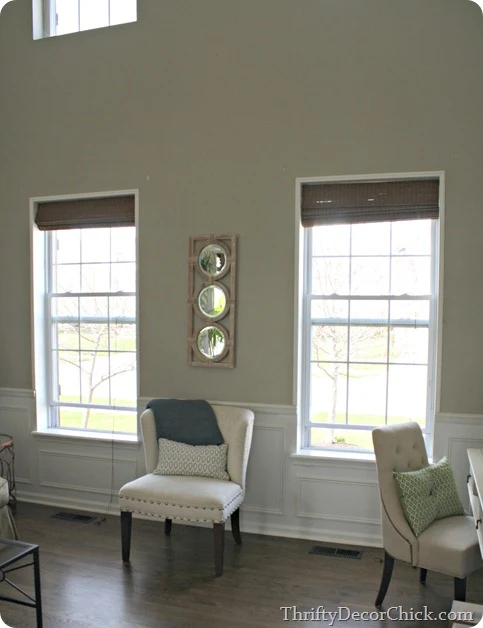
I couldn’t BELIEVE how much better the room looks with the beefier trim around the windows:

Here’s a closer look at how chair rail, wainscoting and window trim work together:


I labeled the wood I used so you can pin this for later:

This simple trim work around your windows will take any room to the next level! It makes such a huge difference on windows and doors.
If you have any questions about either tutorial, please let me know in the comments!